This guide will be helpful if you recently purchased a Wi-Fi range extender from Net Gear and are having trouble configuring it. We’ll demonstrate two setup procedures for NetGear WiFi Extender and let you know which one works best for your specific model.
Configuring: NetGear WiFi Extender
Note: An extender from NETGEAR (or any other manufacturer) will increase the range of your home’s Wi-Fi network by adding another anchor point and enhancing coverage all around.
The setup options for your NetGear WiFi Extender ranges may vary depending on which model you own.
The Nighthawk app, a proprietary support app from NETGEAR, was just released and is used to configure networking devices in their suite.
Regretfully, the majority of Wi-Fi range extenders released prior to 2017 will not be compatible with this programme, which only functions with more recent versions. Check the list below to see if your NetGear WiFi Extender is compatible with Nighthawk.
We advise utilizing this method when the Nighthawk app is supported because it’s much faster, easier, and doesn’t require you to change any router settings.
1. Use the Nighthawk app to install and configure the NETGEAR Extender
Use the NETGEAR Nighthawk app if your Wi-Fi range extender supports it to streamline the setup process and eliminate any technical obstacles that may make it more difficult than necessary.
The NETGEAR Wi-Fi Range Extender models EAX11, EAX11v2, EAX12, EAX14, EAX15, EAX15v2, EAX18, EAX20, EAX30, EAX50, EAX80, EX6100v2, EX6150v2, EX6250, EX6250v2, EX6400v2, EX6400v3, EX6410, EX6410v2, EX6420, EX6470, EX6500, EX7300v2, EX7320, EX7500, EX7700, EX8000, and RBS40V Universal are all compatible with the Nighthawk app on both Android and iOS devices.
To configure your networking gear via the NETGEAR proprietary app, follow the steps listed below if your NETGEAR range extender supports the Nighthawk app integration:
- Make sure your router has a connection to the Internet first.
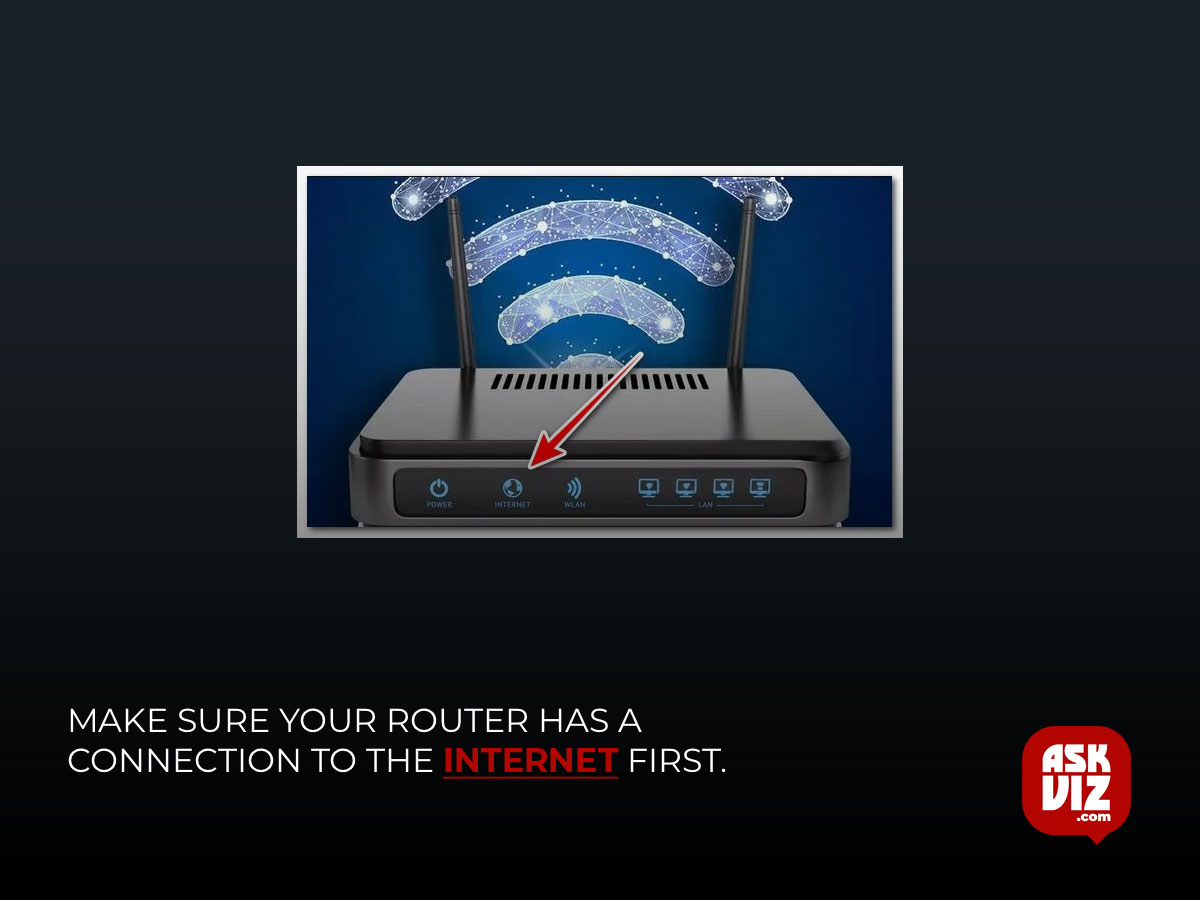
- Verify the router’s Internet connectivity.
- Verify that the router can access the Internet.
- Note: You should also write down your password and SSID when you connect to the internet if you don’t already have them. To finish the setup procedure, you’ll need these credentials.
- Get the NETGEAR Nighthawk app for your smartphone from the Google Play Store (Android) or the Apple Store (iOS):
- For Android, Nighthawk
- Nighthawk on iOS
- After the installation of the Nighthawk app, confirm that the mobile device is linked to the home router.
- After plugging in your range extender, watch for it to fully charge.
Note: When the power LED stops blinking and turns solid green, the process is finished.
Navigate to Settings on your iOS or Android device, then select the Wi-Fi option. Join the default Wi-Fi network of the NetGear WiFi Extender from within. On all models, it will be referred to as NETGEAR_EXT.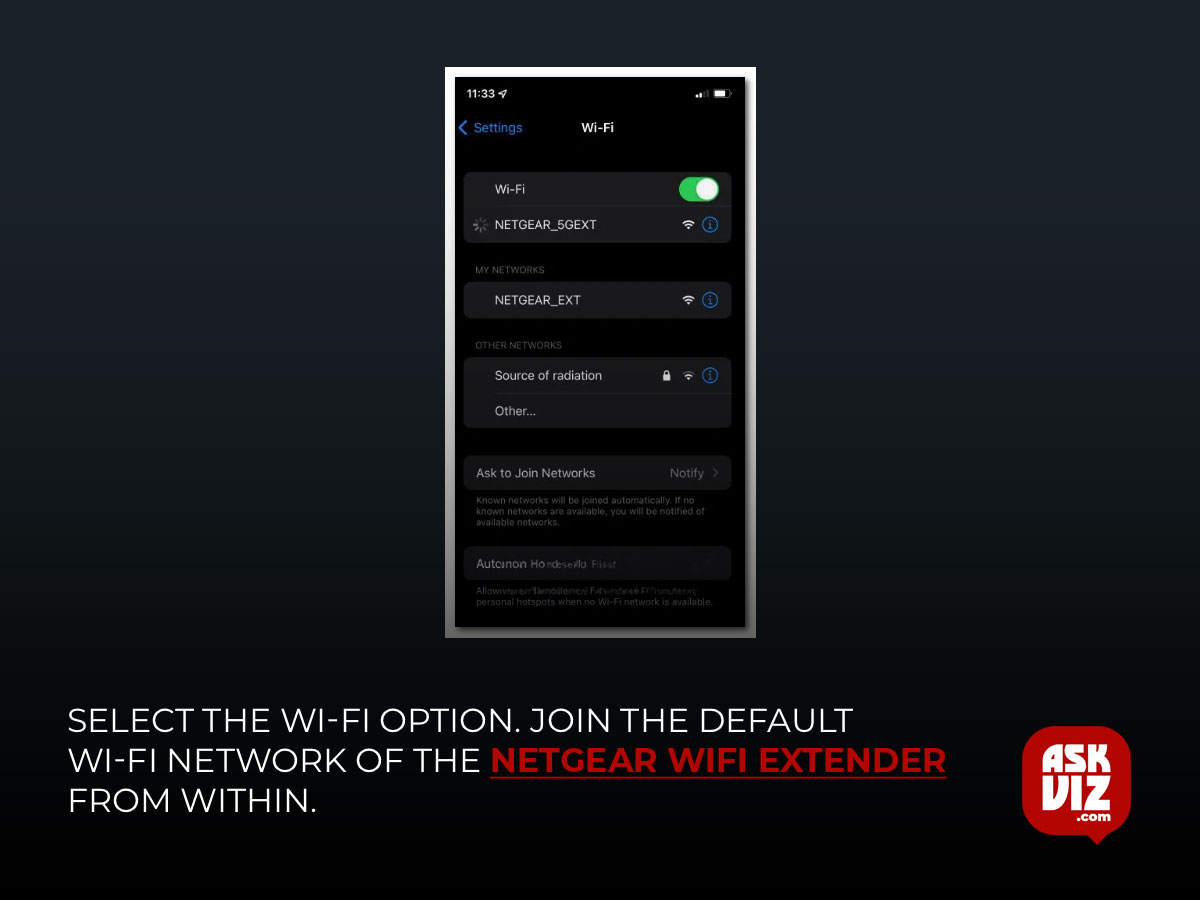
Open the NETGEAR Nighthawk app when your smartphone has successfully connected to the NETGEAR default Wi-Fi network.
To finish the connection and connect the extender to your network in order to enable wider coverage, adhere to the steps provided within the Nighthawk App.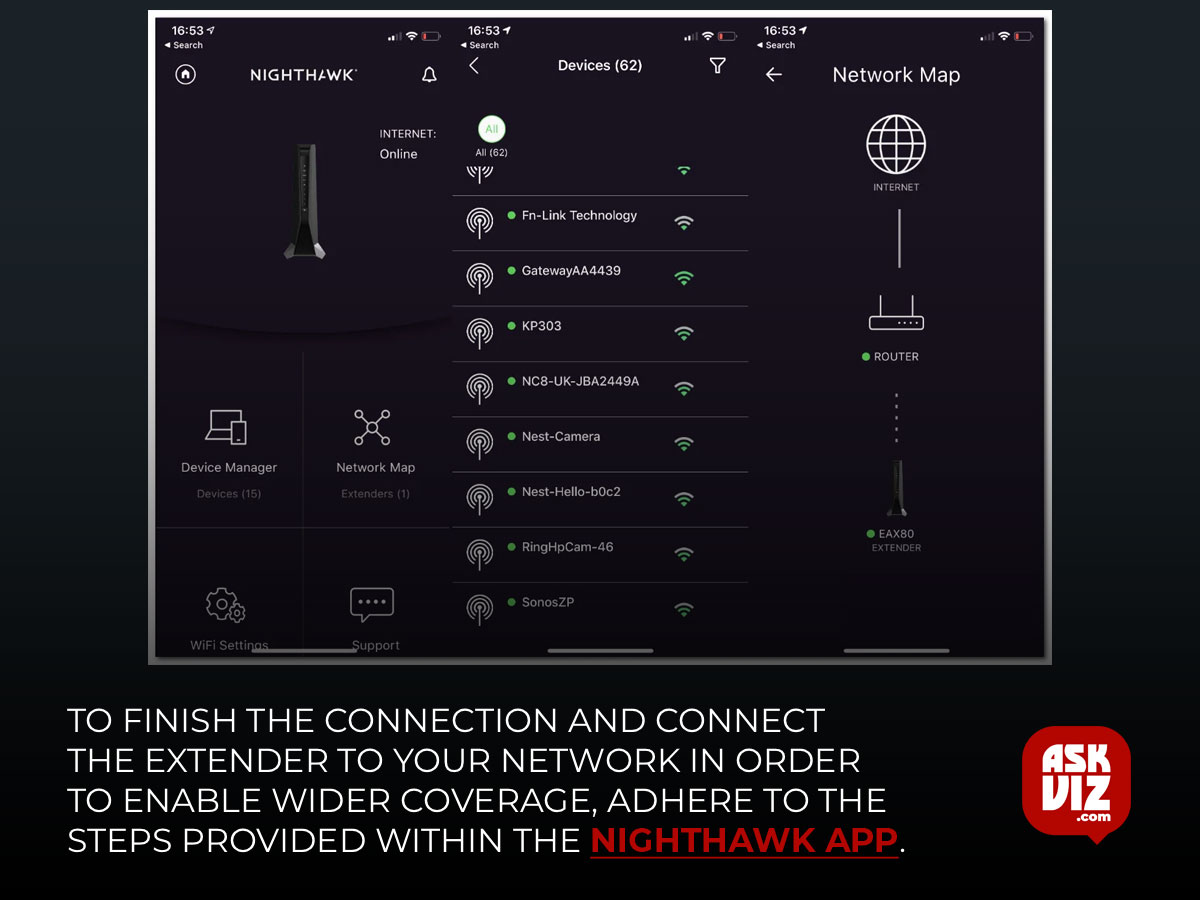
Remember that the steps outlined here may vary based on the kind of Wi-Fi extender and the type of network you use.
Go to the manual approach below if this process doesn’t work at all or if your Wi-Fi extender doesn’t work with the Nighthawk app.
2. Manually Install and Configure the NETGEAR Extender
This is your only option if your extender does not support the Nighthawk app if you prefer the manual route, or if you do not have a mobile device with you.
- Every NETGEAR range Wi-Fi extender follows the same basic process, albeit some of the displays you see below may vary depending on the model.
- Remove the protective plastics from your range extender, take it out of the box, and plug it into the best location.
- Once the extender is plugged in, watch for the power LED to illuminate and turn a solid green.
- Next, choose which device to use to set up the Wi-Fi network on the extender first. A desktop computer (PC or Mac) or a mobile device (Android or iOS) can be used.
- Navigate to the Settings menu on your desktop or mobile device, find your Wi-Fi list, and select the NETGEAR_EXT or NETGEAR_5GEXT network to connect to the extender’s Wi-Fi.
- It’s usual to receive a warning about an unavailable Internet connection, so don’t panic. Keep your Wi-Fi connection active.
- Launch a browser and go to the following address, or mywifiext.net: The IP address 192.168.1.250
- You can just hit Enter after pasting the address into the navigation box. This will display the page for setting up a new extender.
- Click or tap Yes on the New Extender Setup page, then select I Agree to accept the manufacturer policy.
- You will then be asked to provide the admin credentials for the extender you are going to configure. The referral questions can be left unanswered.
- To utilize the NETGEAR Genie feature, if it is available, click or tap Next from the following menu. Then,
Note: By automatically looking for your extender among the active local networks, this will streamline the process a little. - After the first scan is finished, choose the appropriate radio buttons for the 2.4GHz and 5GHz WiFi Network Names (SSID) on your network. Click or touch See More if the networks aren’t automatically listed in the menu.
- Click or tap Next, then type in your network’s current password before clicking or tapping Next once more.
- The specific SSID password for your extender must then be chosen. The WiFi Network Names (SSID) for 2.4GHz and 5GHz might have different values configured.
Note: It’s advisable to write down these login credentials because you’ll need them each time you need to use a web browser to view your extender’s settings. To defend yourself against brute-force assaults, we advise you to change the password for the Wi-Fi network and to keep the username admin.
Optional step: If you’re using a mesh extender, you can use your current network’s name and password if it has already been set up. To activate this function, check the “Enable One Wi-Fi Name” box. If this option is not supported by your extender, it won’t be available.
Once the extender is configured, open the Wi-Fi settings on each device you wish to use with the tender network and establish a connection to the newly established network.
Return to the browser page where you just configured the extender, tick the box at the bottom of the page, and then touch the Continue button.
FAQS
How can I improve my Netgear Wi-Fi extender?
Follow these tips to get the best performance from your range extender:
- Select a higher wireless channel on your router. …
- Enable One WiFi Name. …
- Enable the 2.4 and 5 GHz WiFi radios on your router.
- Place your extender about halfway between your router and the area with a poor WiFi signal.
What are the tips for using a WiFi extender?
Place the extender facing towards the router as much as possible. The front side of the extender facing against the main router directly will be the best direction for the extender’s antennas to receive and broadcast the signal. The behind clients can also get faster speed from the extender in this case