Rooting an Android device allows the user to view the system files and obtain administrative capabilities. With root access, the user can install apps like a Wi-Fi sniffer and do other things that a regular user can’t, such as modifying the boot animation. Even though Root Bluestacks is one of the best Android emulators, some power users still insist on rooting it.
While there is a plethora of automated and manual ways to root for BlueStacks, we’ll do our best to keep things easy so that even a novice can follow along.
Warning:
Rooting Blue Stacks could make it unstable or perhaps prevent it from launching, so proceed with caution. Additionally, it could damage your system or data. In addition, there are instances where third-party software is utilized, which are mostly harmless but could potentially damage your system or data. Also, be very careful and don’t break any laws while using rooted Blue Stacks; they might be utilized for various illicit operations.
Launch Blue Stacks for the First Time
Rooting Blue Stacks isn’t without its risks; in fact, you could accidentally delete important data from a Blue Stacks installation if you try to root it. A risk-free solution in this situation is to use the Blue Stacks Multi-Instance Manager to launch a fresh installation of Blue Stacks.
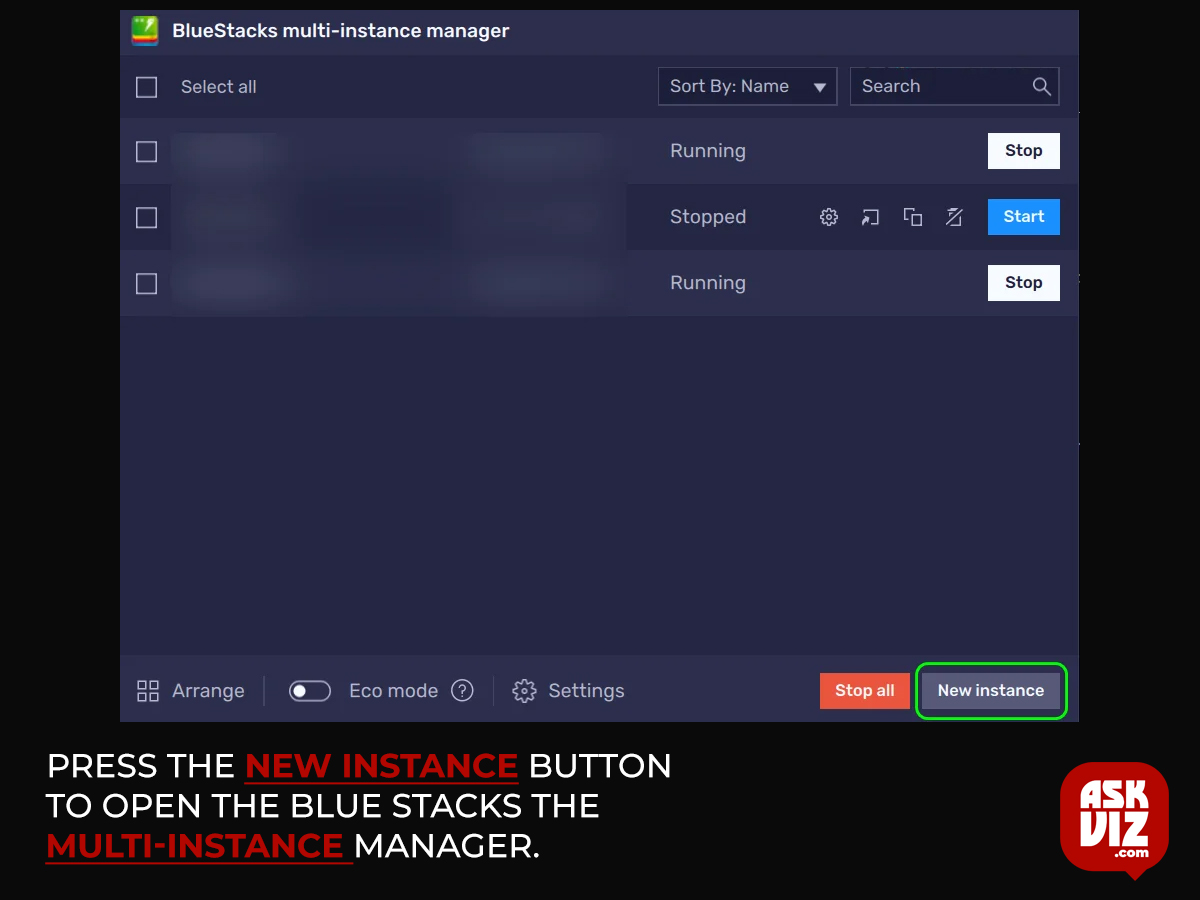
- Press the New Instance button (it’s on the bottom right) to open the Blue Stacks Multi-Instance Manager.
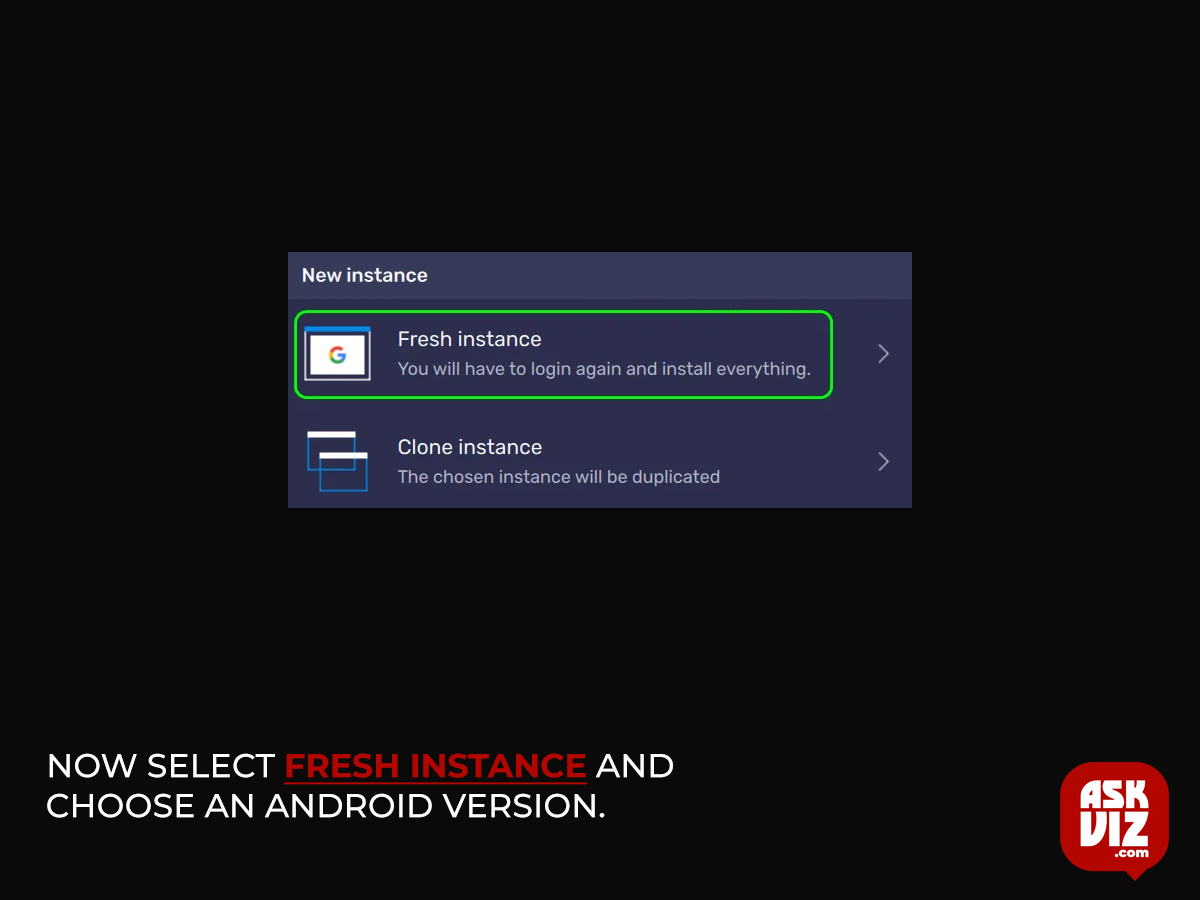
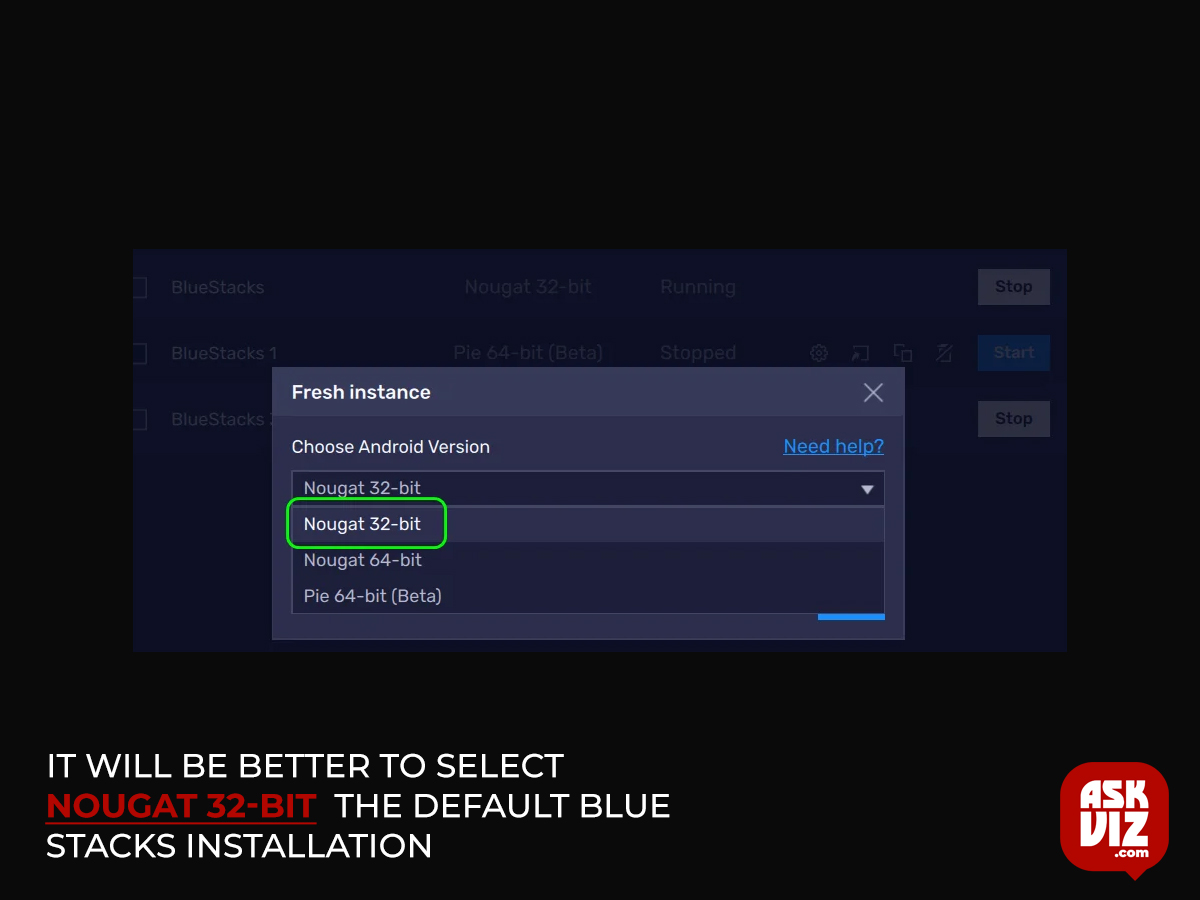
- Now select Fresh Instance and choose an Android version but it will be better to select Nougat 32-bit (the default Blue Stacks installation at the time of writing this article).
- Then click Next and set the CPU Cores dropdown box to at least Medium (2 Cores).
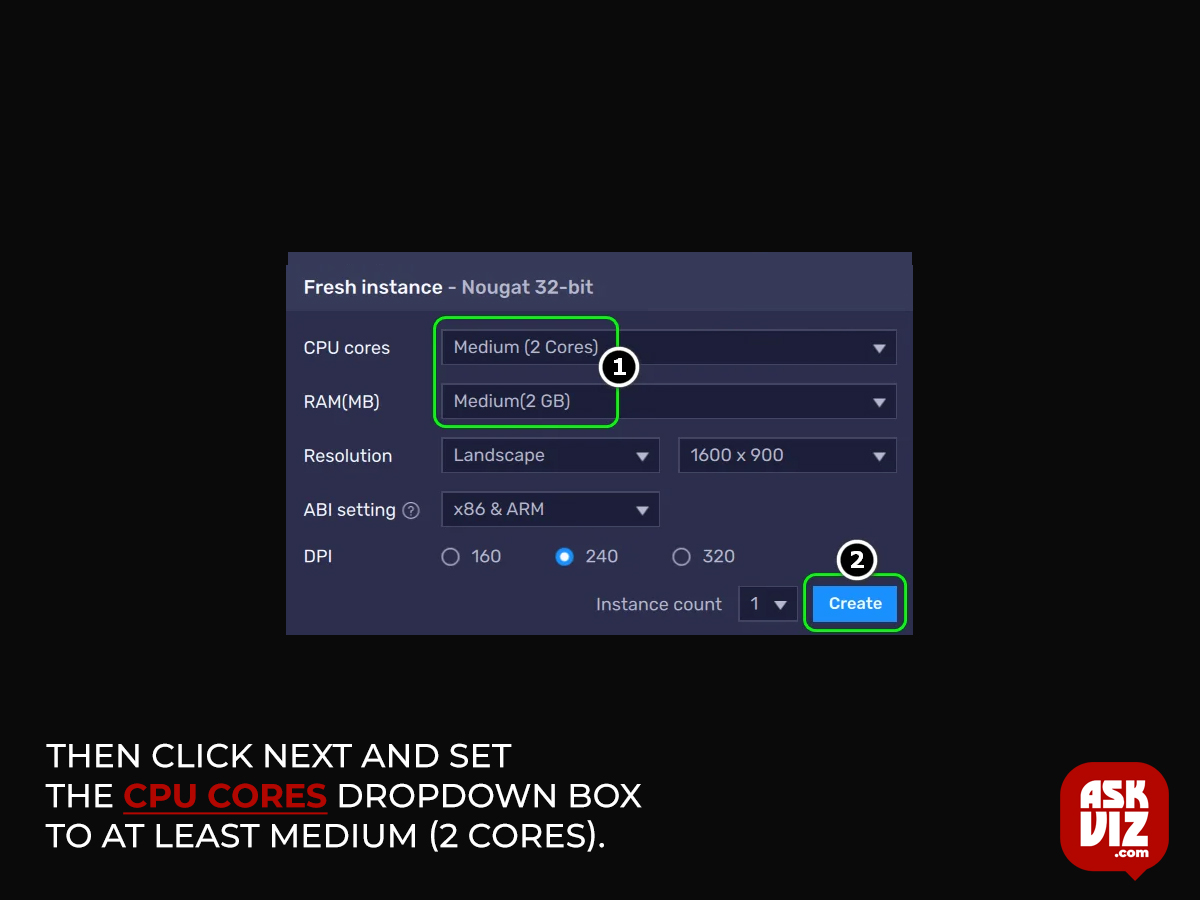
- Now set the RAM dropdown to Medium 2GB and leave other options on the default values.
- Then click on the Create button and wait till the Blue Stacks instance is created.
- Now in the Multi-Instance Manager, select the newly created instance and click on Start.
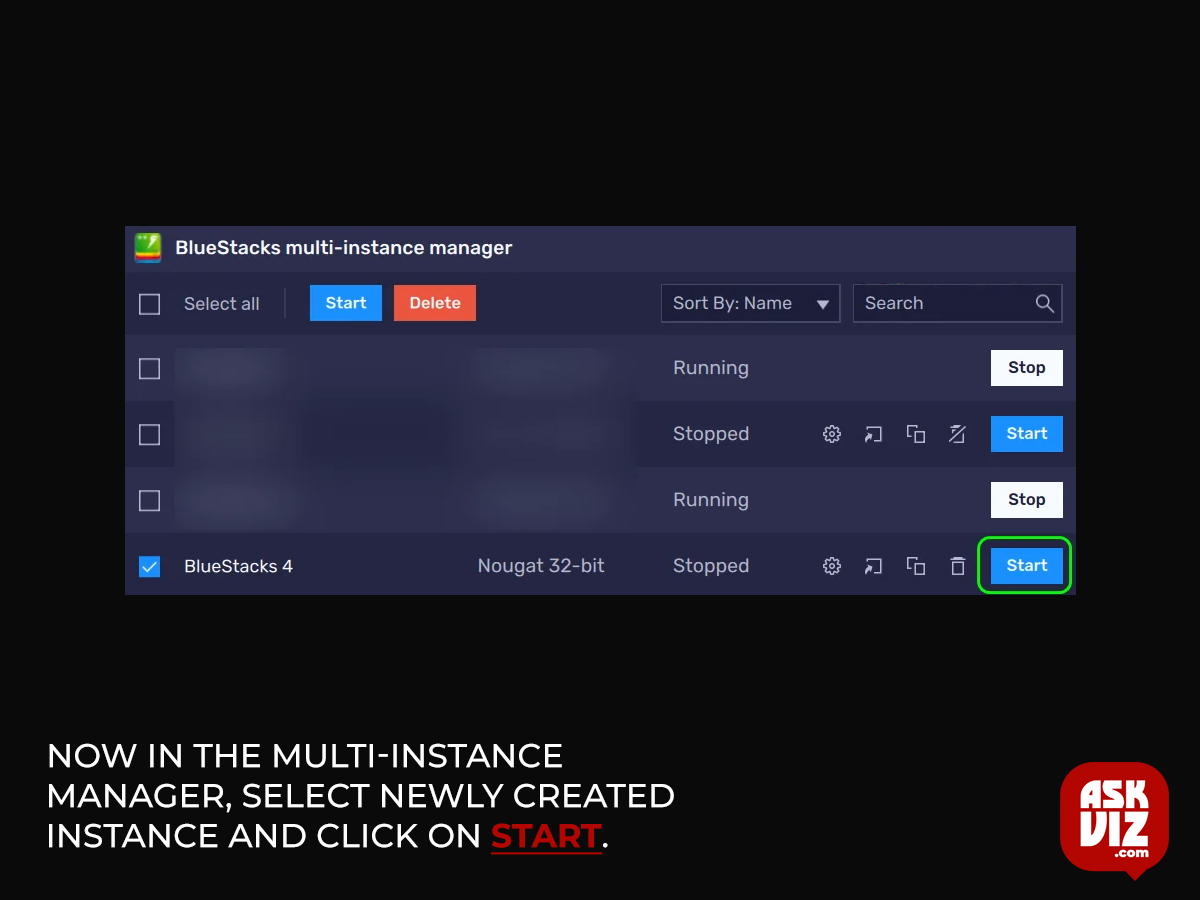
- Then, sign into the Play Store, and then you can go ahead with the rooting process as discussed below.
Visit the Google Play Store to install a root-checking application.
- A root verification app might be useful for verifying the success of any Blue Stacks rooting procedure.
- Root Check may be found on the Google Play Store when you open Blue Stacks.
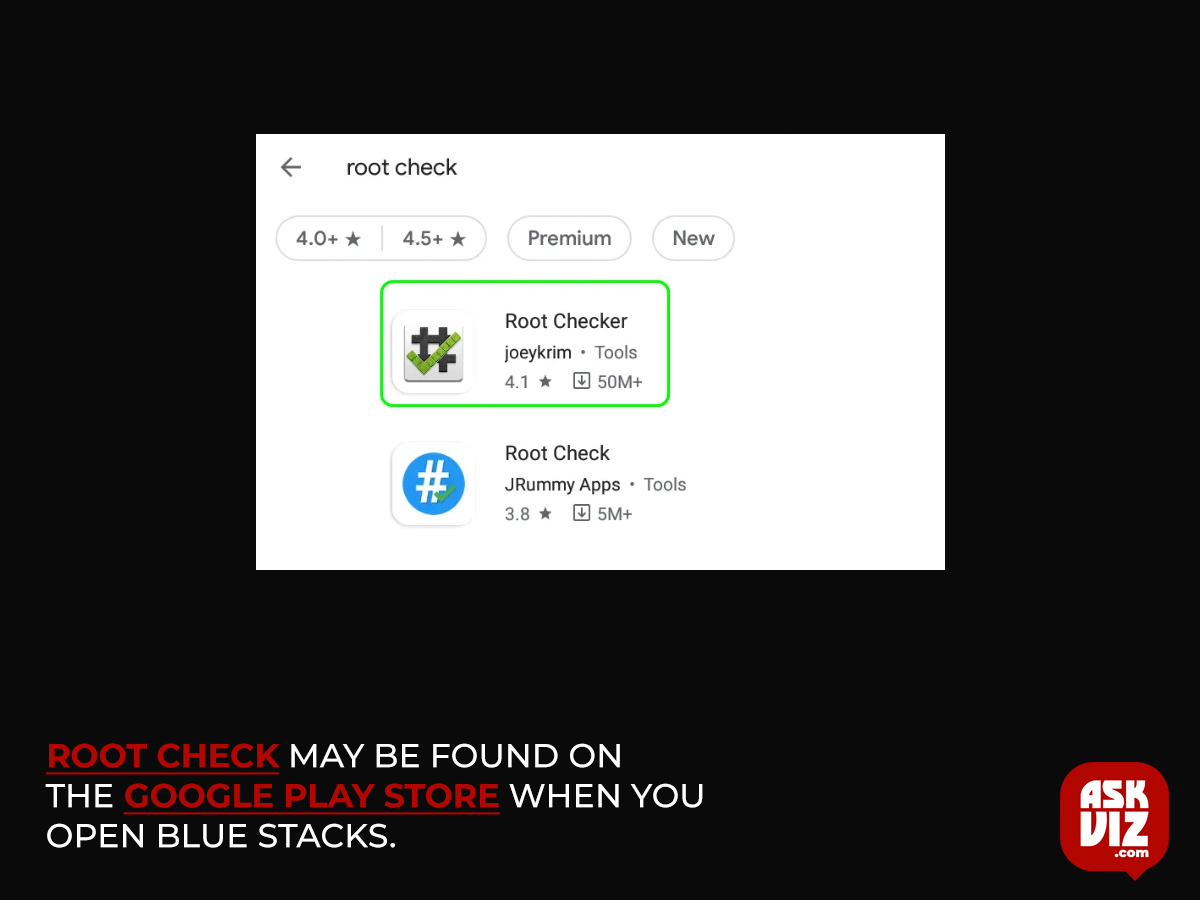
- Now launch Root Checker (or the program of your choice) and hit the Install button.
- If you’re okay with the terms and conditions, you can start Root Checker and then click the Agree button.
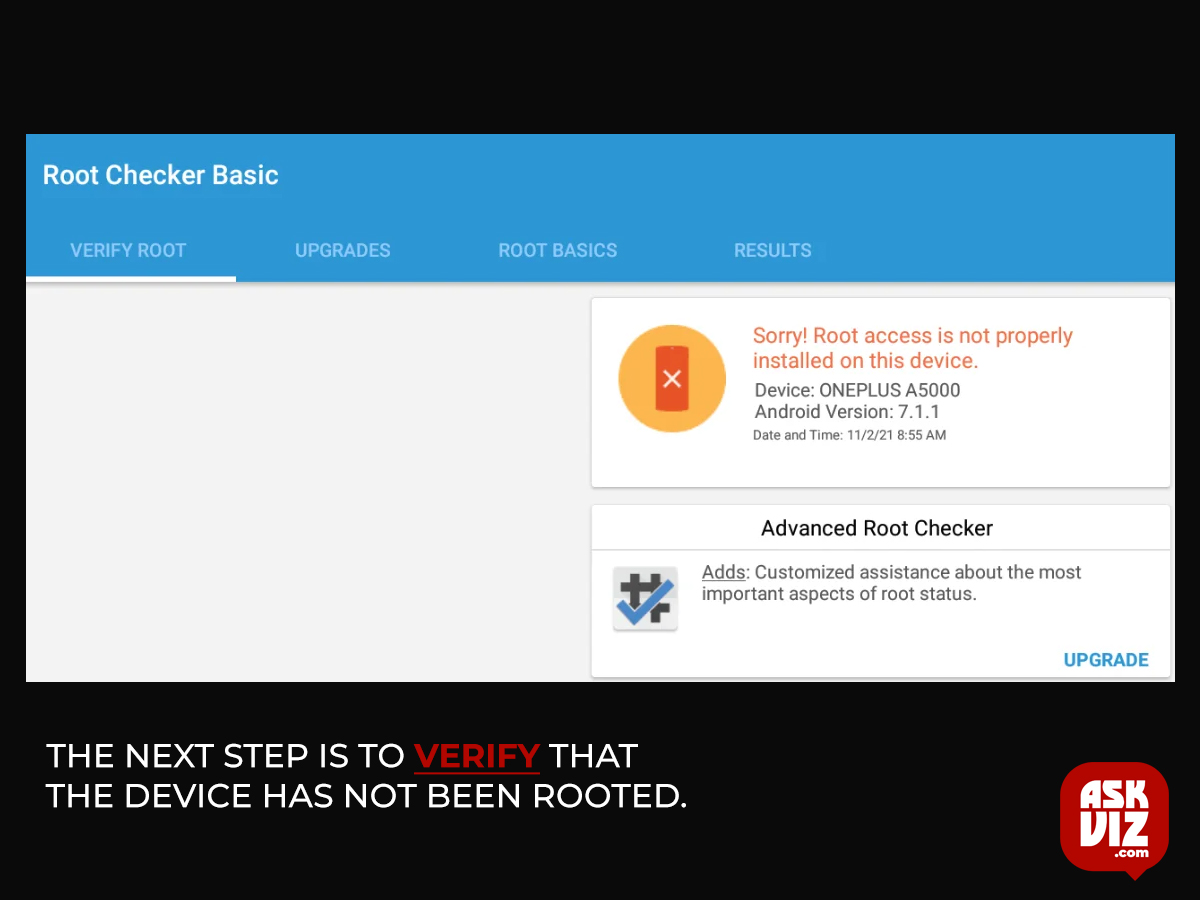
- Select Verify Root from the list of options after clicking Get Started.
- The next step is to verify that the device has not been rooted. It will indicate that the device is rooted when the Blue Stacks installation is rooted, so there’s no need to fear.
Step 1: Edit the Root Bluestacks configuration file to root the app.
Since no software needs to be downloaded or installed, this approach is likely the simplest. Not to mention that the user will be sticking to his tried-and-true methods and tools.
- To begin, close Blue Stacks. If you’re using an older version (less than 5), you may need to do it from the system tray.
- Launch the Run dialog box by right-clicking Windows.
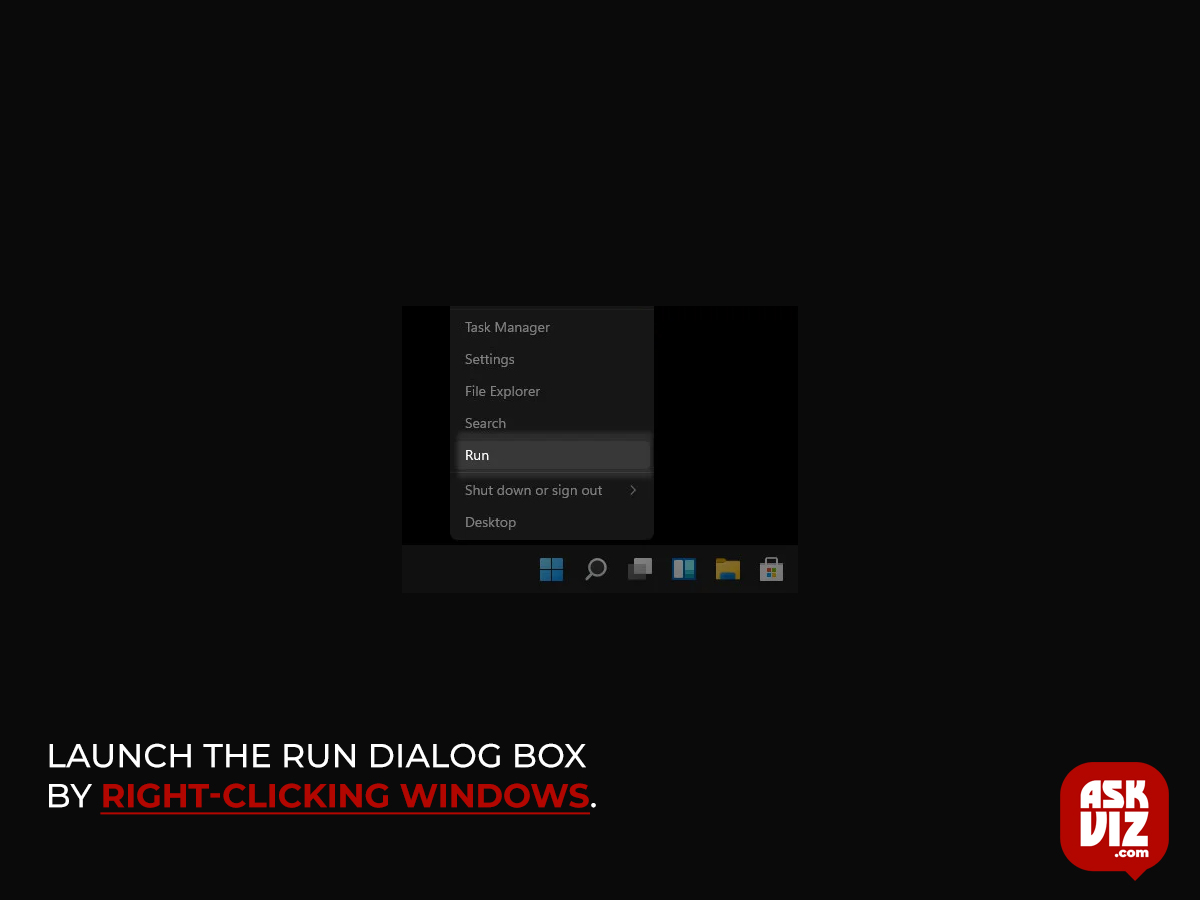
- This is where you’ll often see Blue Stacks after installation (though some users may need to enable reading of protected OS files):
%programdata%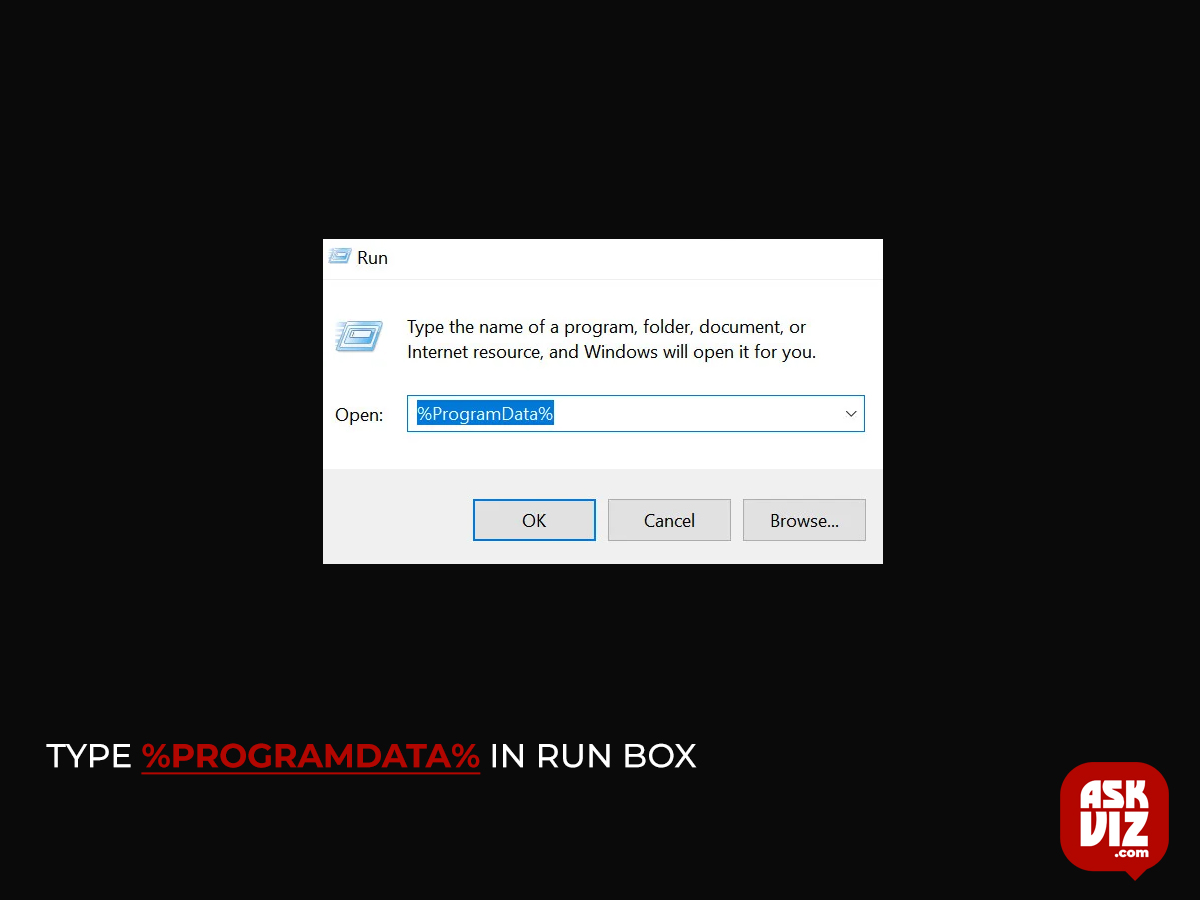
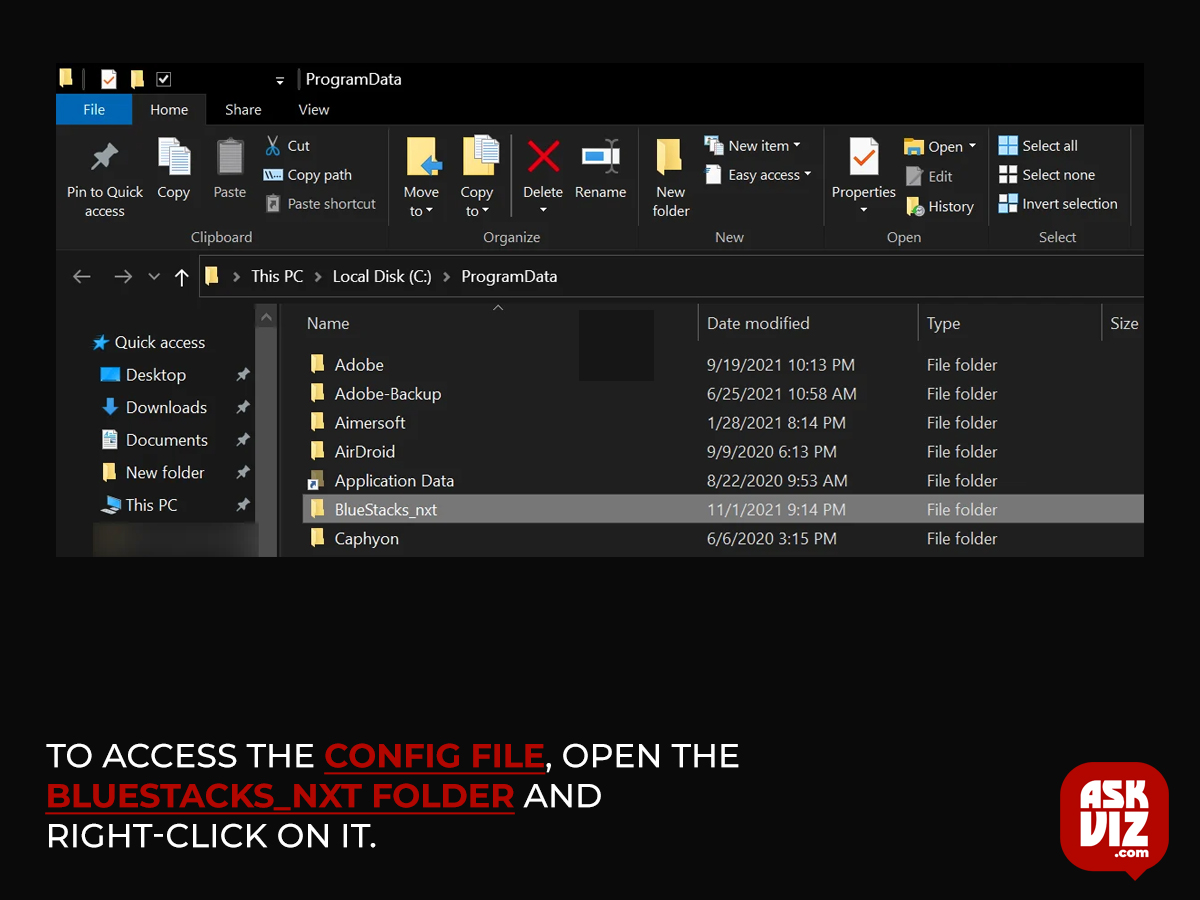
- To access the config file, open the Blue Stacks or BlueStacks_nxt folder.
- Then, right click on bluestacks.conf file to Open with, expand More Apps.
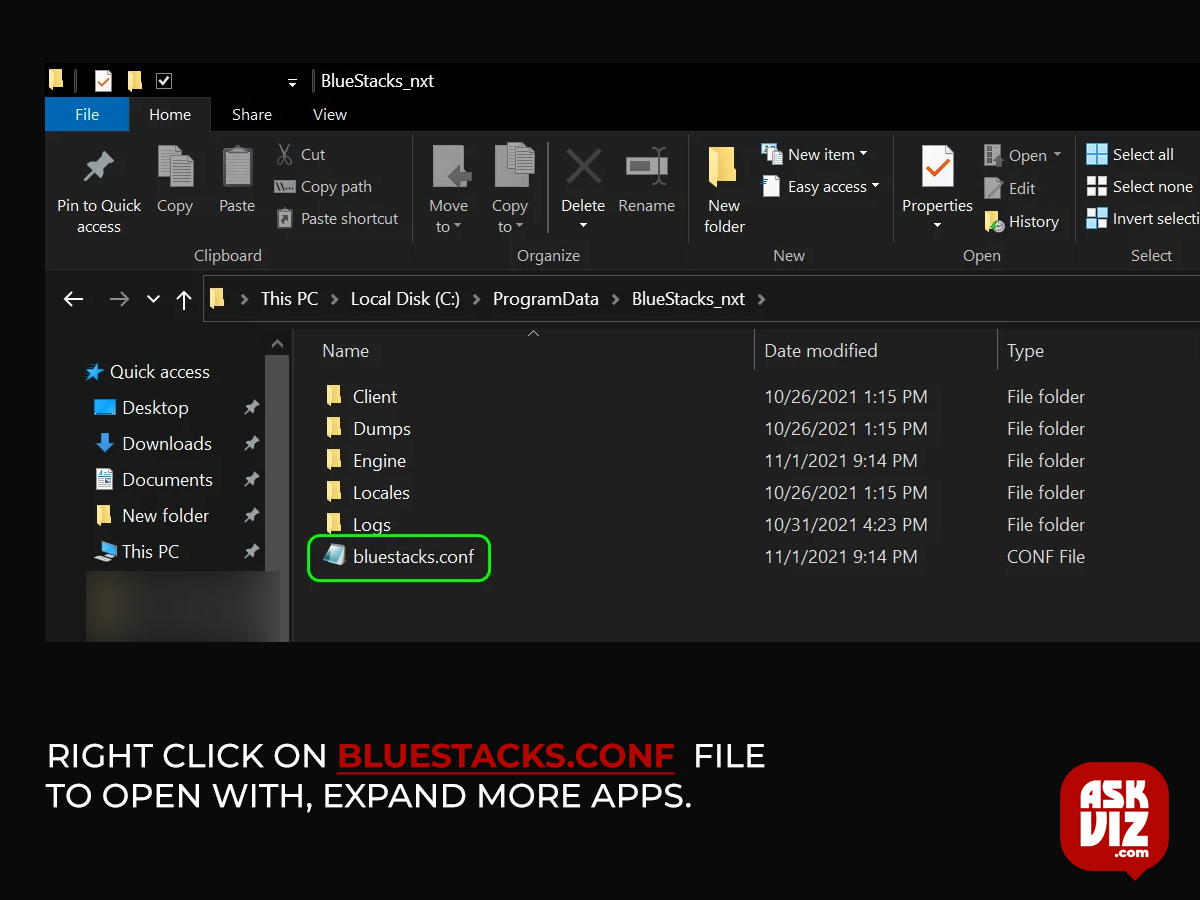
- Now select Notepad and when the Notepad window is shown, expand Edit.
- Then search for root and change the value of bst.feature.rooting to 1.

- Again, search for root and change the value of bst.instance.Nougat32.enable_root_access to 1.
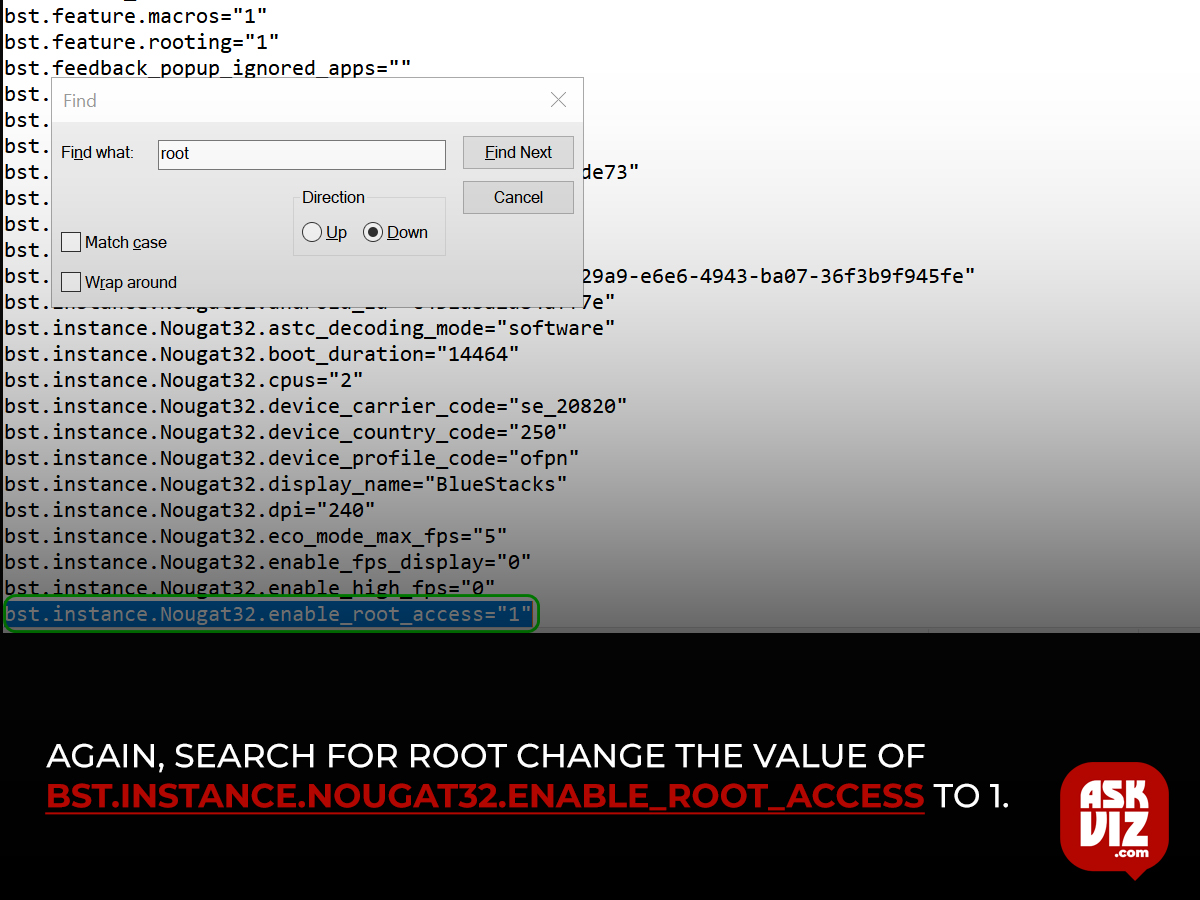
- If you have more than one instance of Blue Stacks, change the value of all the values related to the root to 1 from 0.
- Finally, run Blue Stacks after saving your changes.
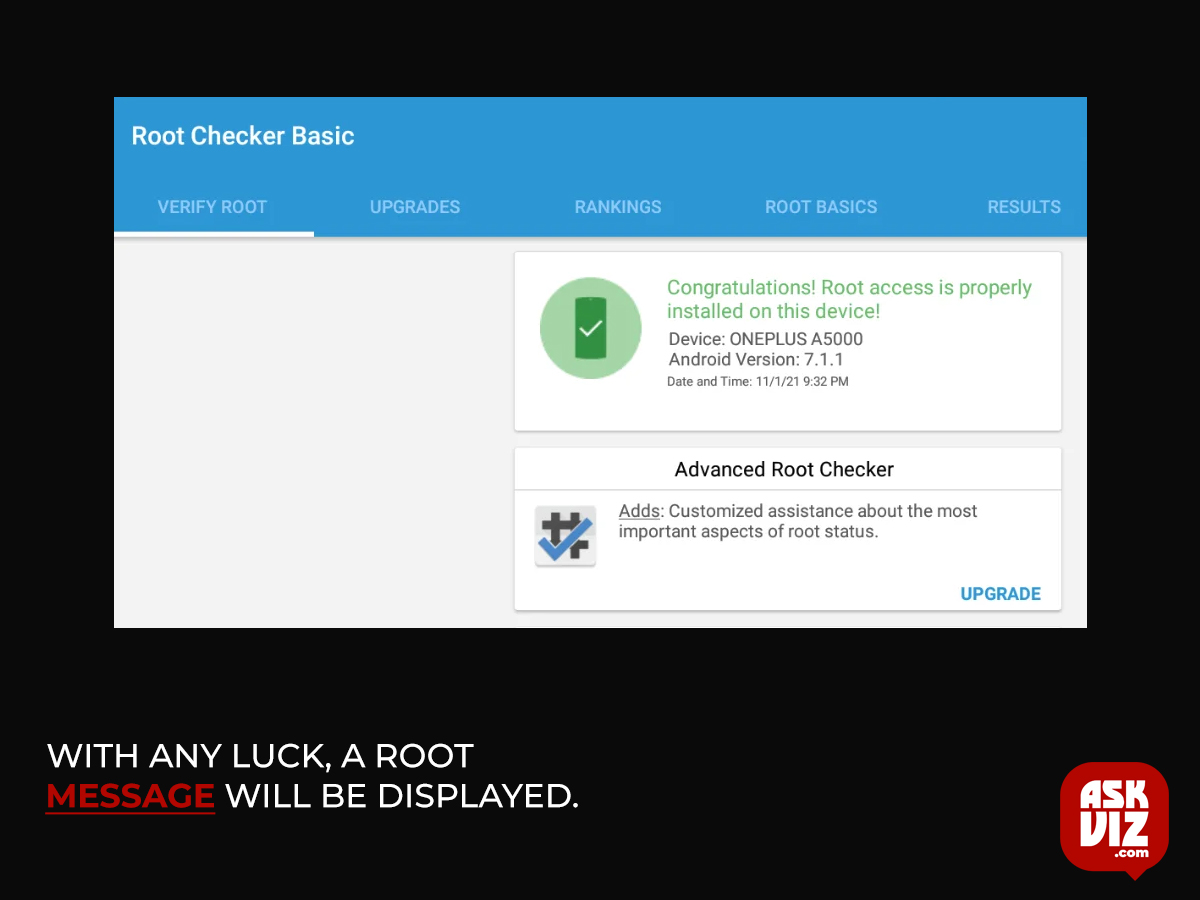
- After the device has launched, open Root Checker and select Verify Root from the menu.
- With any luck, a root message will be displayed.
You can experiment with startup managers, custom animations, script managers, etc., after you’ve rooted Blue Stacks (for example, using the System Tools Android app) to personalize the installation of Blue Stacks. To get the most out of your rooted Android device, look up reviews of the top apps online.
Step 2: Using One-Click Root Applications to Root Blue Stacks
The aforementioned solution is sufficient for many people who only wish to use root capabilities for a single app. Use a one-click rooting app like King Root or OneClickRoot if you’d rather not mess with the Config file. We are not going into detail about that method because it is so straightforward.
You may install one-click root apps like King Root or OneClickRoot in Blue Stacks by downloading their APK files from their respective websites.
Then, open the software you just installed and follow the on-screen prompts to root Blue Stacks.
Step 3: Root Blue Stacks with the BS Tweaker App
Though root may work, installing the SuperSU binaries may necessitate some tinkering for some sophisticated users, particularly those who require it. Consequently, the aforementioned techniques may not meet their needs. Even for those with experience, installing SuperSU manually is a daunting task. For additional details on how to manually install SuperSU, you can refer to the XDA-developer forum article. On the other hand, programs like BS Tweaker simplify this procedure significantly. Remember that SuperSU controls which apps have root access by prompting the user to grant or deny the permission.
FAQS
- How do I enable root access?
Prepare your Android Device for Rooting
- Step 1: Go to About Phone and tap Build Number to see it. …
- Step 2: On the main Settings page, tap the Build Number seven times to bring up the Developer Options. …
- Step 3: To view your new developer settings, tap the Back key.
- Step 4: Select Developer Options.
- How do I access root in Windows?
Open Command Prompt in Windows 10
In the power user task menu, select Command Prompt (Admin) This opens the Command Prompt window (Figure 9). To change to the Root directory type cd\ and press Enter (Figure 10). NOTE: The Root directory is the best place to enter any required commands or instructions


