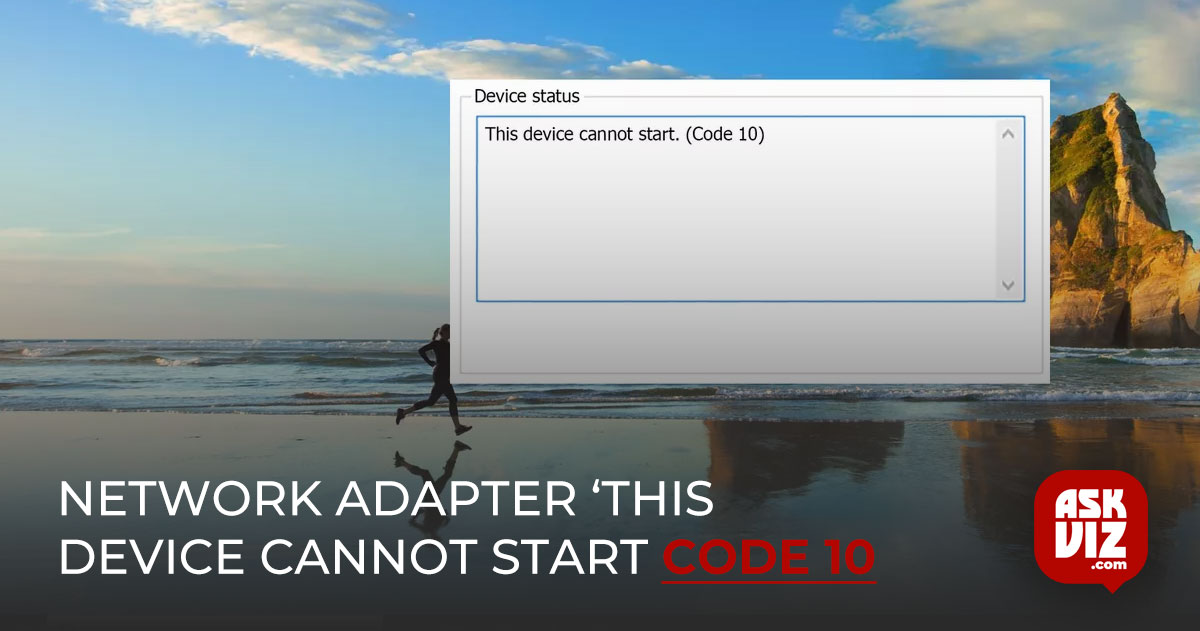
This error message appears when there is an incompatible driver installed on the device, or when the device is not connected correctly and ‘this device cannot start code 10‘.
Windows Recognize: This device cannot start code 10
It is common to meet this issue on the network adapter, which Windows occasionally cannot recognize, or the device stops functioning, leading to the encounter of this error.
1. Turn on or off the device
Most of the time, turning off and back on the problematic driver solves the issue with ease. Disabling and re-enabling the device could resolve the problem if it is not functioning although Windows indicates that it is enabled. To accomplish so, take the following actions:
- Open Device Manager by performing a right-click on the Start Menu.
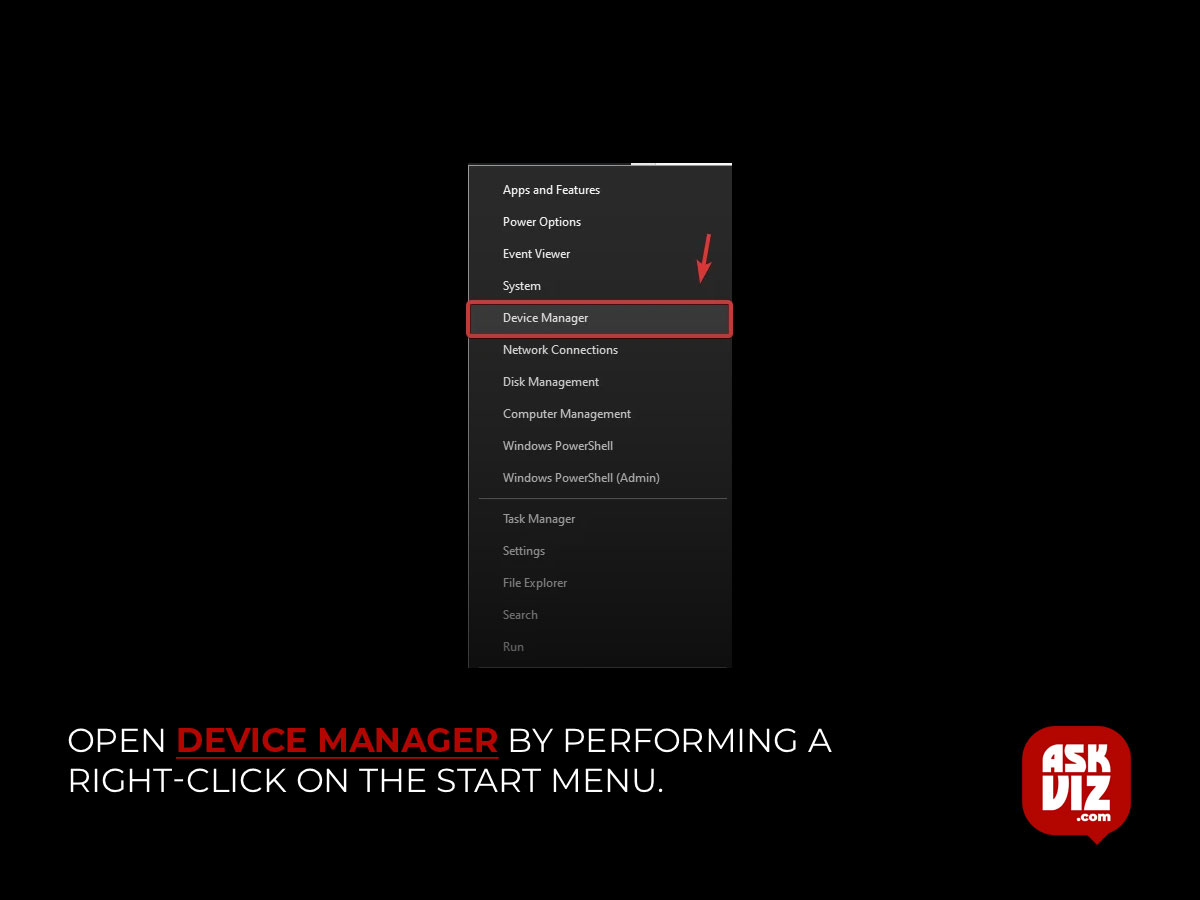
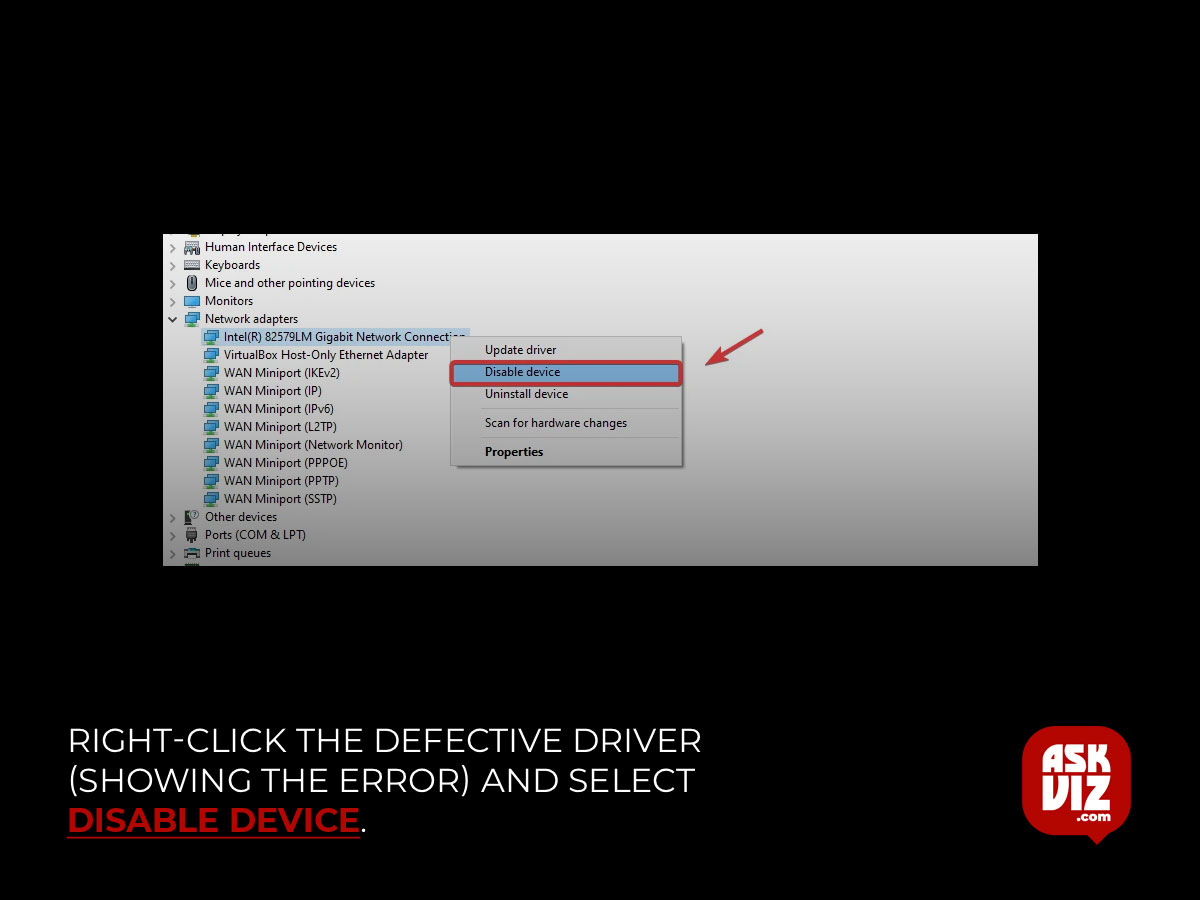
- Once the device manager is opened, right-click the defective driver (showing the error) and select Disable device.
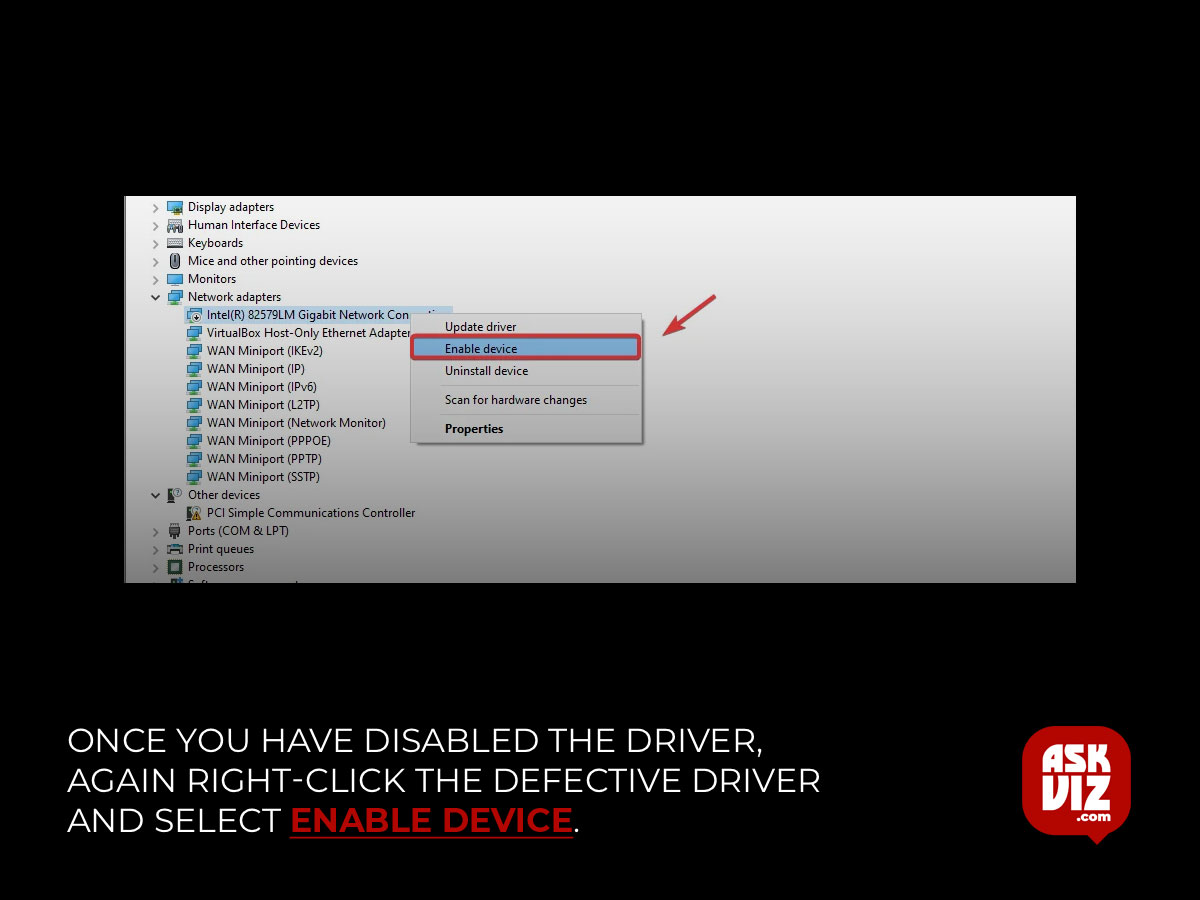
- Once you have disabled the driver, again right-click the defective driver and select Enable device.
- Once done, check if the error this device cannot start code 10 persists.
2. Turn your machine on and off
Restarting the machine is another way to fix this problem. One method to get a gadget operating again when it stops working unexpectedly is to power cycle the computer. Simply follow these instructions to restart your computer.
2.1 Device
1. Turn off your computer completely and disconnect all of your peripheral devices’ power cables.
2. Take a few minutes to hold down the power button after disconnecting all of the cords.
3. After that, try turning on your computer and plugging in the power connections again to see if the gadget again functions.
2.2 Notebook
1. Turn off your laptop and, if you can, take out the battery.
2. Hold down the power button for a duration of 15 to 30 seconds.
3. Next, switch the laptop on and check if the error has been resolved.
3. Reinstall the driver
One of the best solutions for this problem is to reinstall the driver, as the cause of the issue is a corrupt or incompatible driver. To reinstall the faulty driver, you must uninstall it and restart your computer. The default driver for input and output devices in Windows is always installed, so you don’t need to worry about installing it. To restore the driver, just follow the instructions.
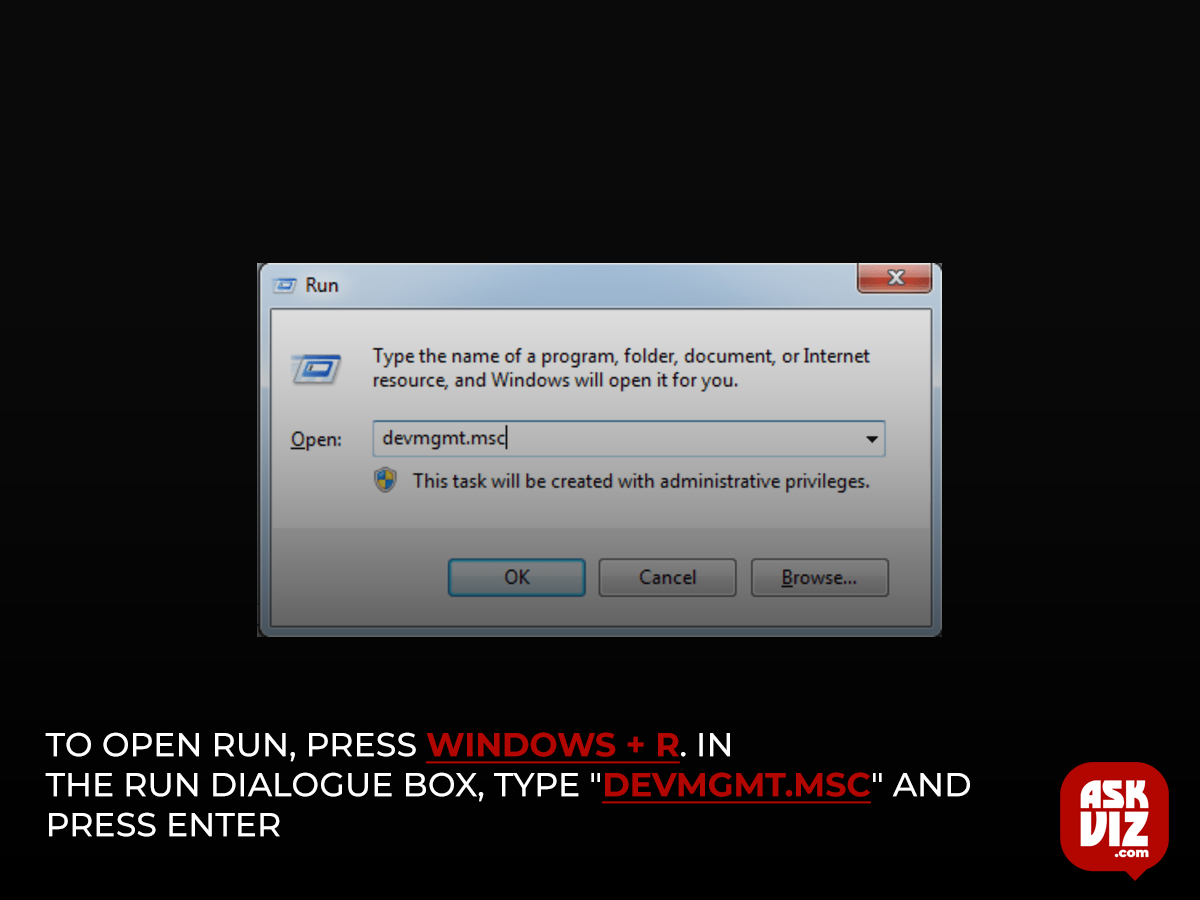
- To launch the Run Programme, simultaneously press the Win and R keys.
- Press Enter after typing devmgmt.msc to launch Device Manager.
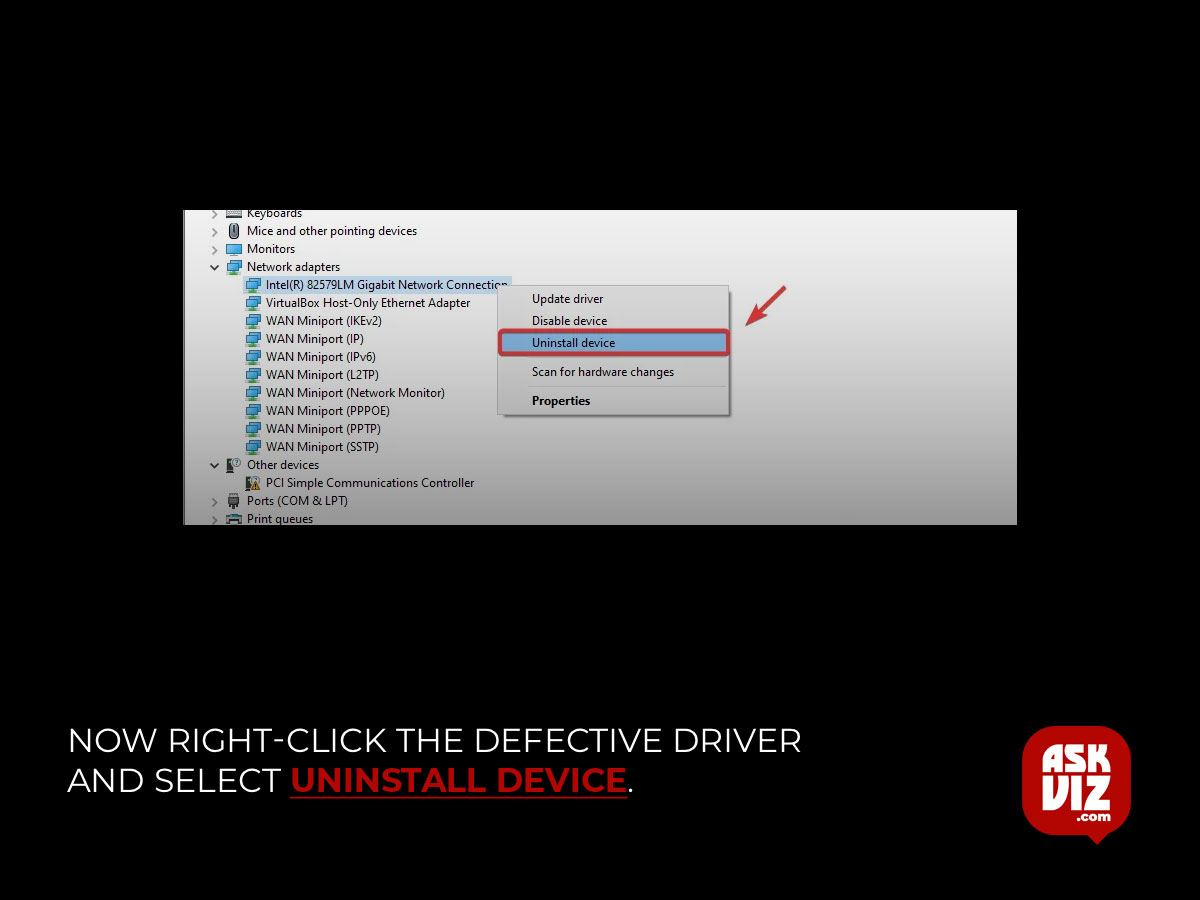
- Now right-click the defective driver and select Uninstall device.
- Again click Uninstall to confirm the action.
- Once done, restart your computer to install the driver again, and hopefully, the issue will be resolved. If not, follow the other methods.
4. Download the manufacturer’s driver
Try downloading and installing the driver from your manufacturer’s website if the problem still doesn’t go away. An appropriate driver designed specifically for your laptop or PC will be installed. As a result, installing the compatible driver using this technique is advised. If the error message is being displayed by a network adapter, you will need to use a different computer or device to download the driver and use a USB to transfer it to your computer. To start your search for appropriate drivers for a laptop or computer, you must first know the model number of your device.
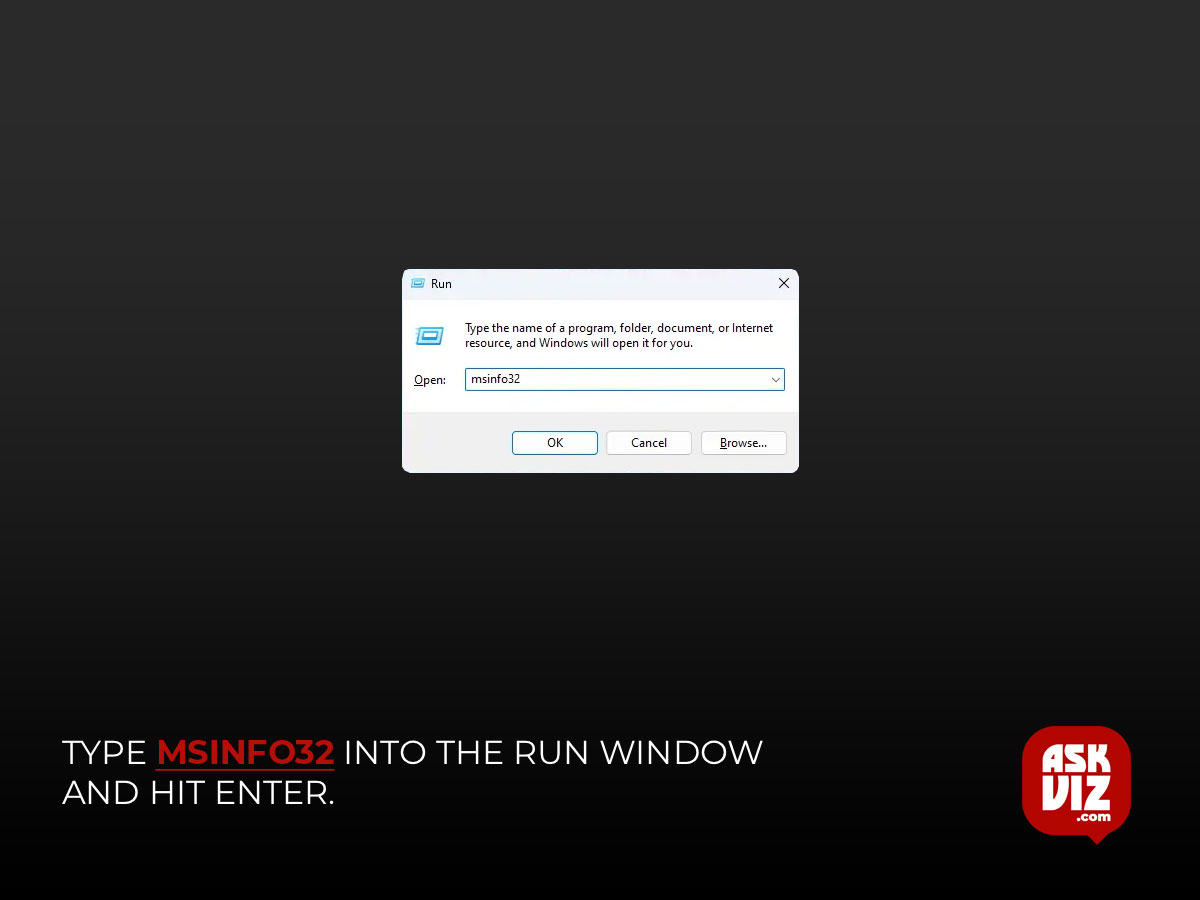
- To start the Run Programme, simultaneously press the Win and R keys.
- Press Enter after entering msinfo32 to view the system information.
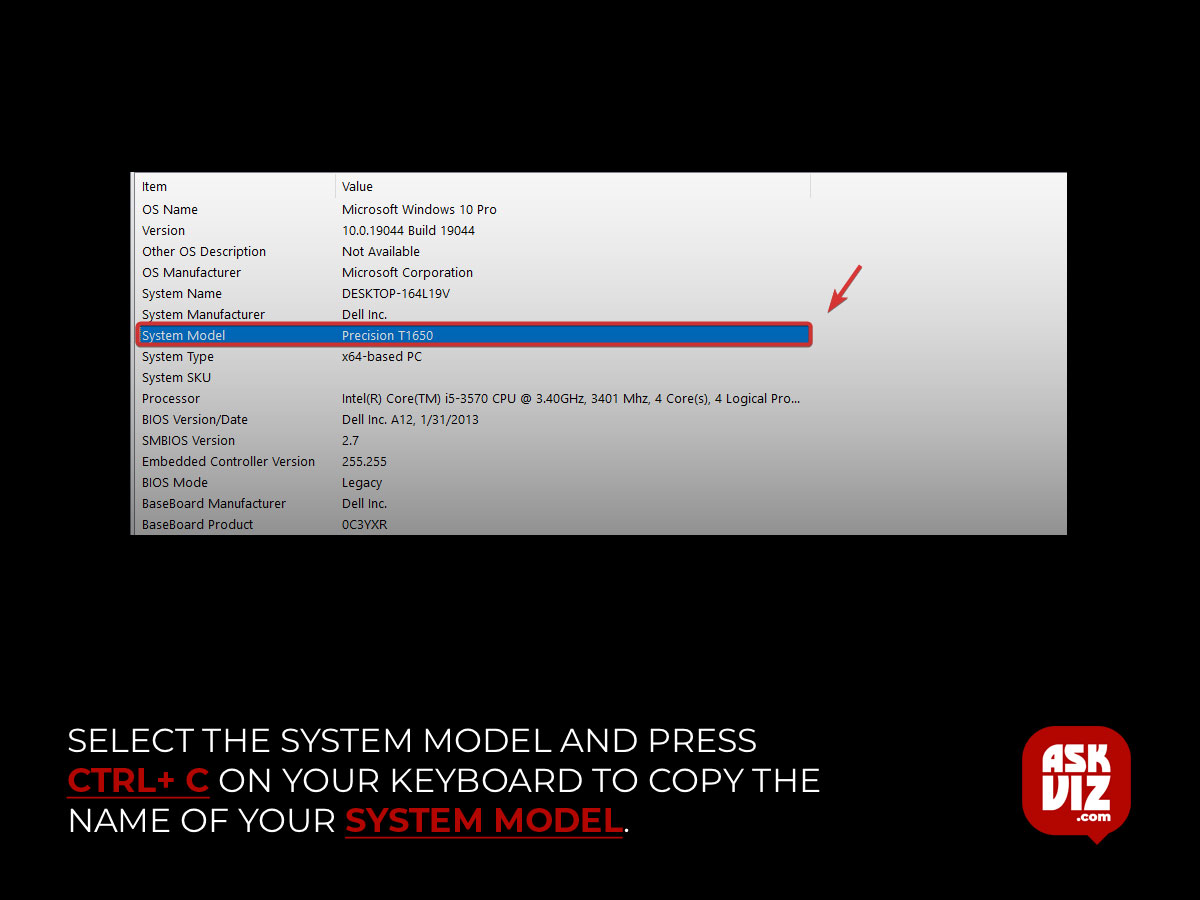
- Select the System Model and press Ctrl+ C on your keyboard to copy the name of your System Model.
- Go to the official manufacturer’s website and find the drivers with the help of the model name that you copied.
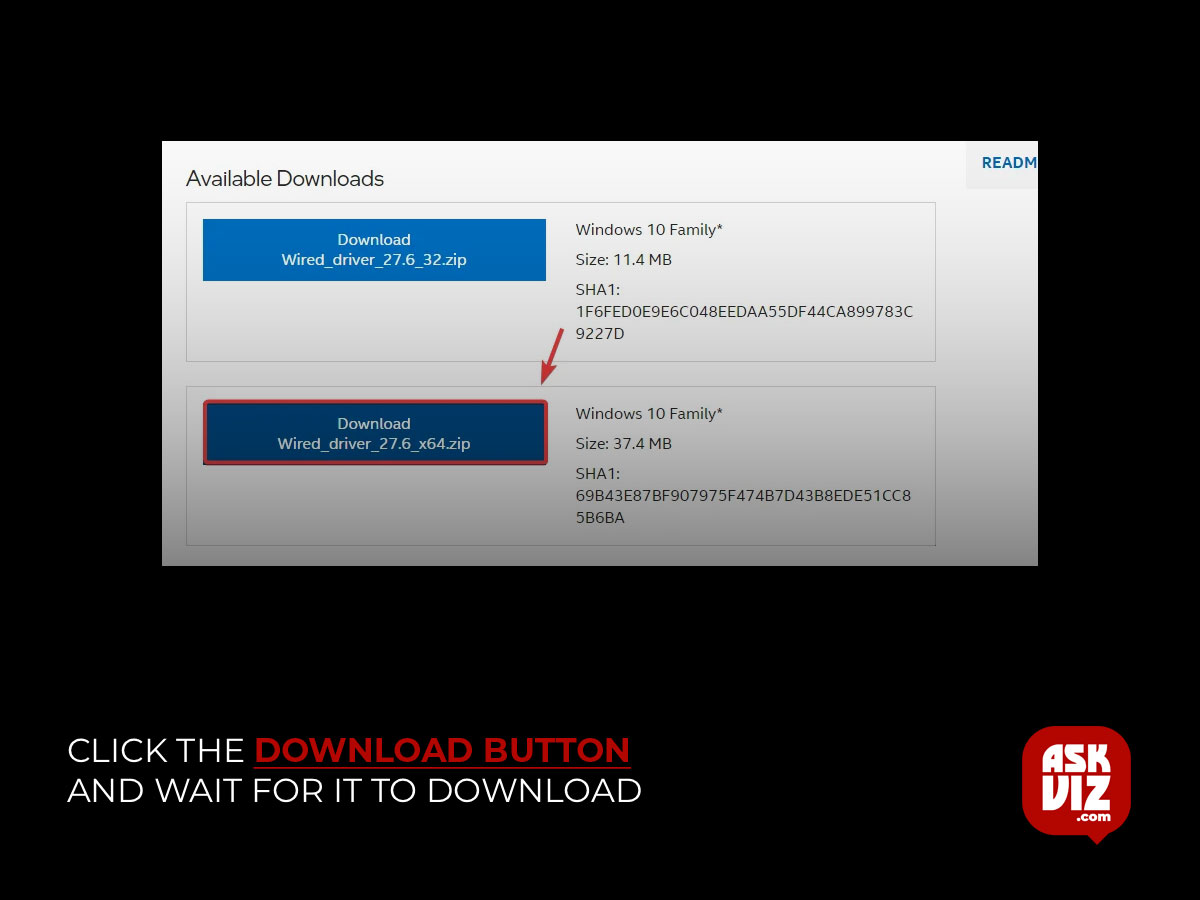
- Click the Download button and wait for it to download.
- Once done, right-click the Start Menu and select the Device Manager to open.

- Right-click the defective driver and select Uninstall device.
- Again click Uninstall.

- Install the driver after that. by heeding the directions displayed on screen.
- After that, see if the mistake has been resolved.
5. Use the troubleshooter for hardware and components
Hardware troubleshooters and other device troubleshooters are integrated utilities that automatically resolve issues. Depending on the device you are trying to fix, each troubleshooter has a unique method for solving issues. The troubleshooter will first make sure the device is enabled from a device manager if it is a network adapter. Should it be a Windows update troubleshooter, it will look for registry files and impending restarts in order to automatically resolve issues.
The advanced feature known as hardware troubleshooter examines all of the hardware that is attached to your computer. To try and resolve issues, you can run both troubleshooters by doing the following steps:
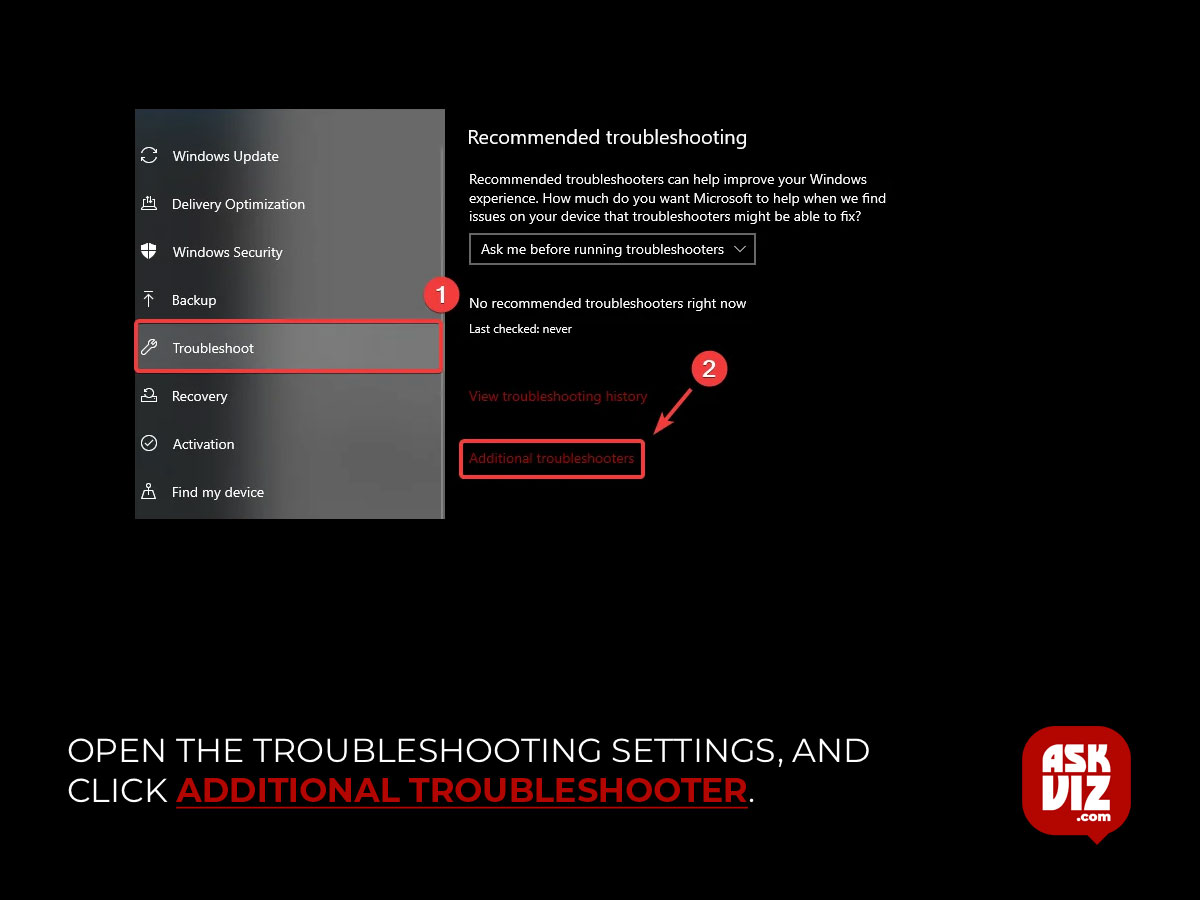
- Toggle between Troubleshooting settings and Start Menu.
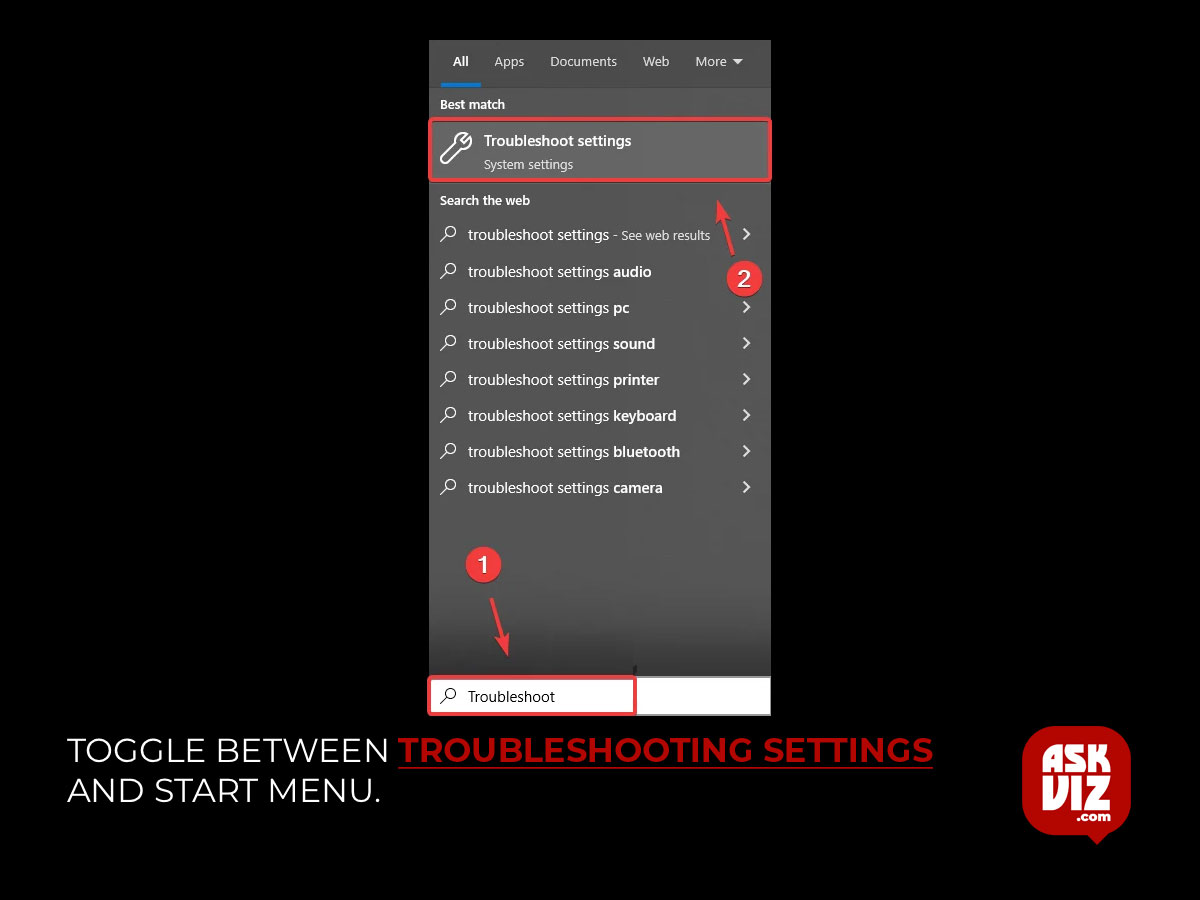
- Open the troubleshooting settings and click Additional Troubleshooter.
- Select the troubleshooter according to your problem and click Run the troubleshooter.
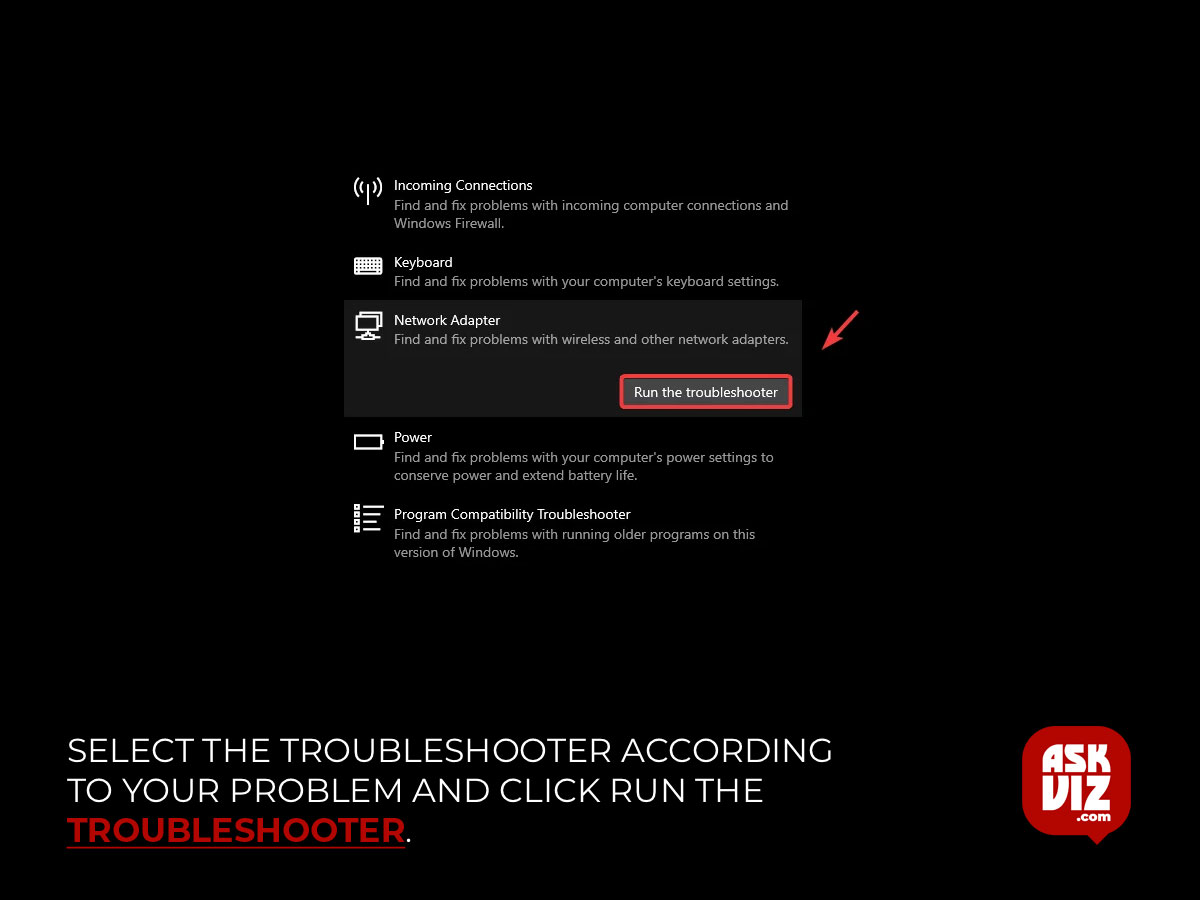
- Then, follow the on-screen instructions according to the problem you are facing.
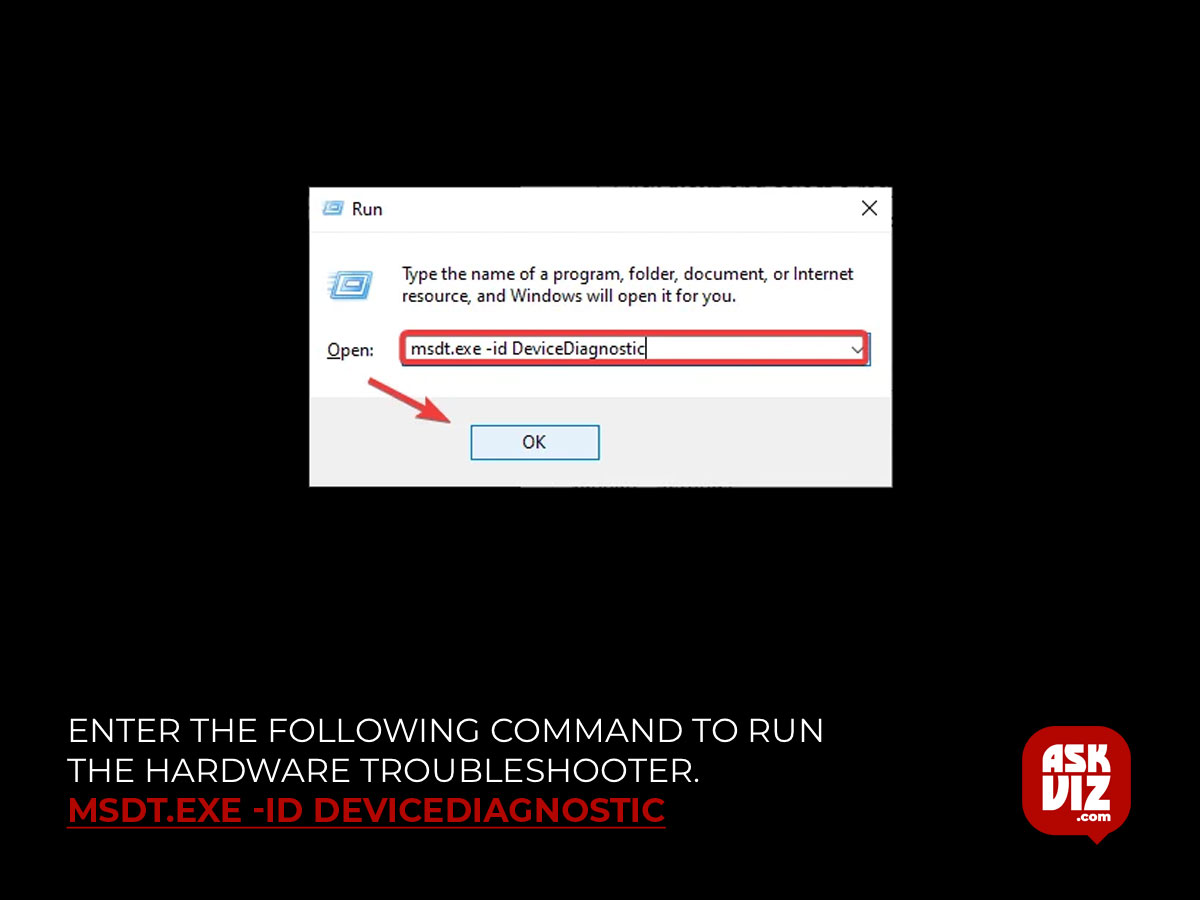
- Once done, check if your problem is fixed. If not, press the Win + R keys together.
- Enter the following command to run the hardware troubleshooter.
-
msdt.exe -id DeviceDiagnosticcopied to clipboard
- Click Next and wait for the hardware troubleshooter to look for problems.
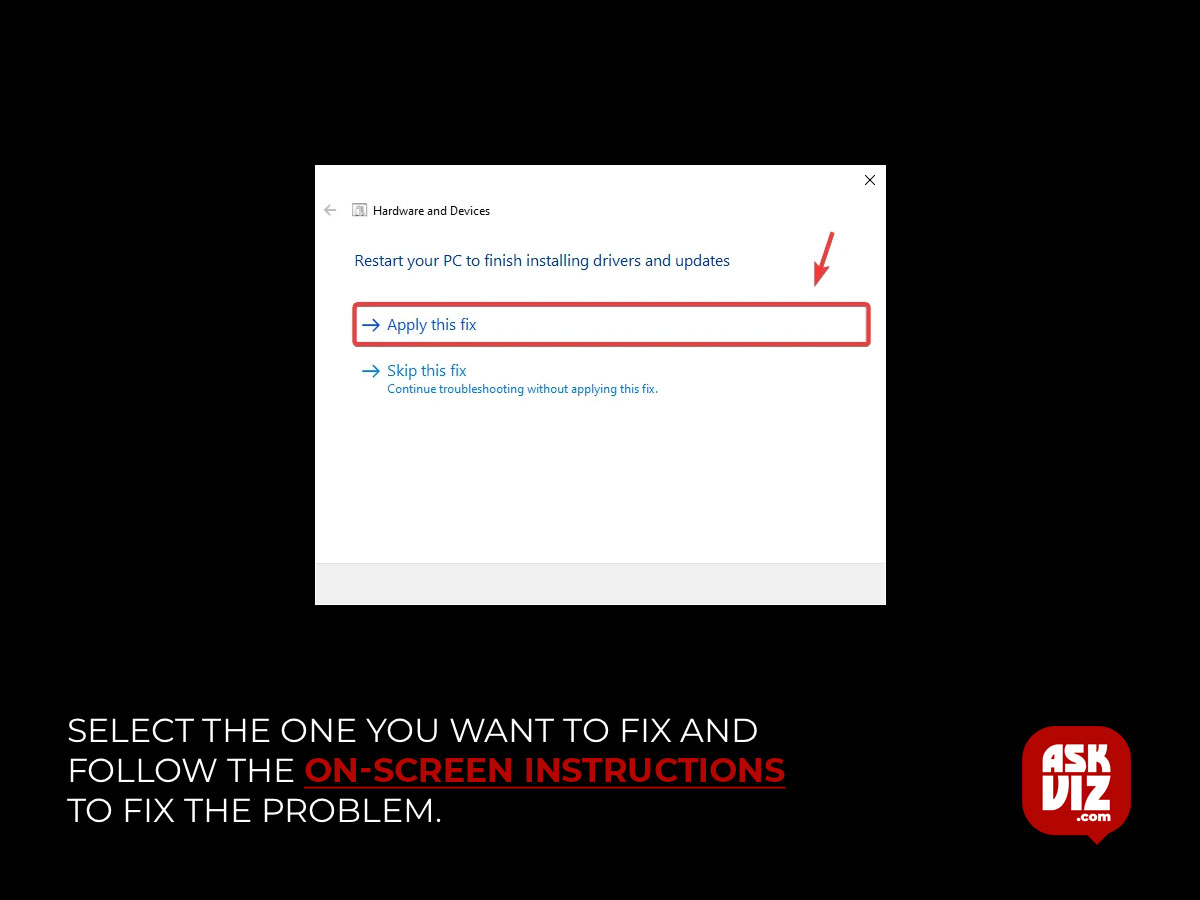
- Once it’s found, it will show you devices that have errors.
- Select the one you want to fix and follow the on-screen instructions to fix the problem.
- Install the driver after that. by heeding the directions displayed on the screen.
After that, see if the mistake has been resolved.
7. Use a System Restore
Finally, if none of the above solutions have been successful, we suggest backing up your Windows system using a restore point that you made when everything was operating as it should. Make sure the device is connected correctly and free of any hardware problems before attempting to reset Windows if you don’t have a restore point.
- Click Start Menu and search Rstrui.
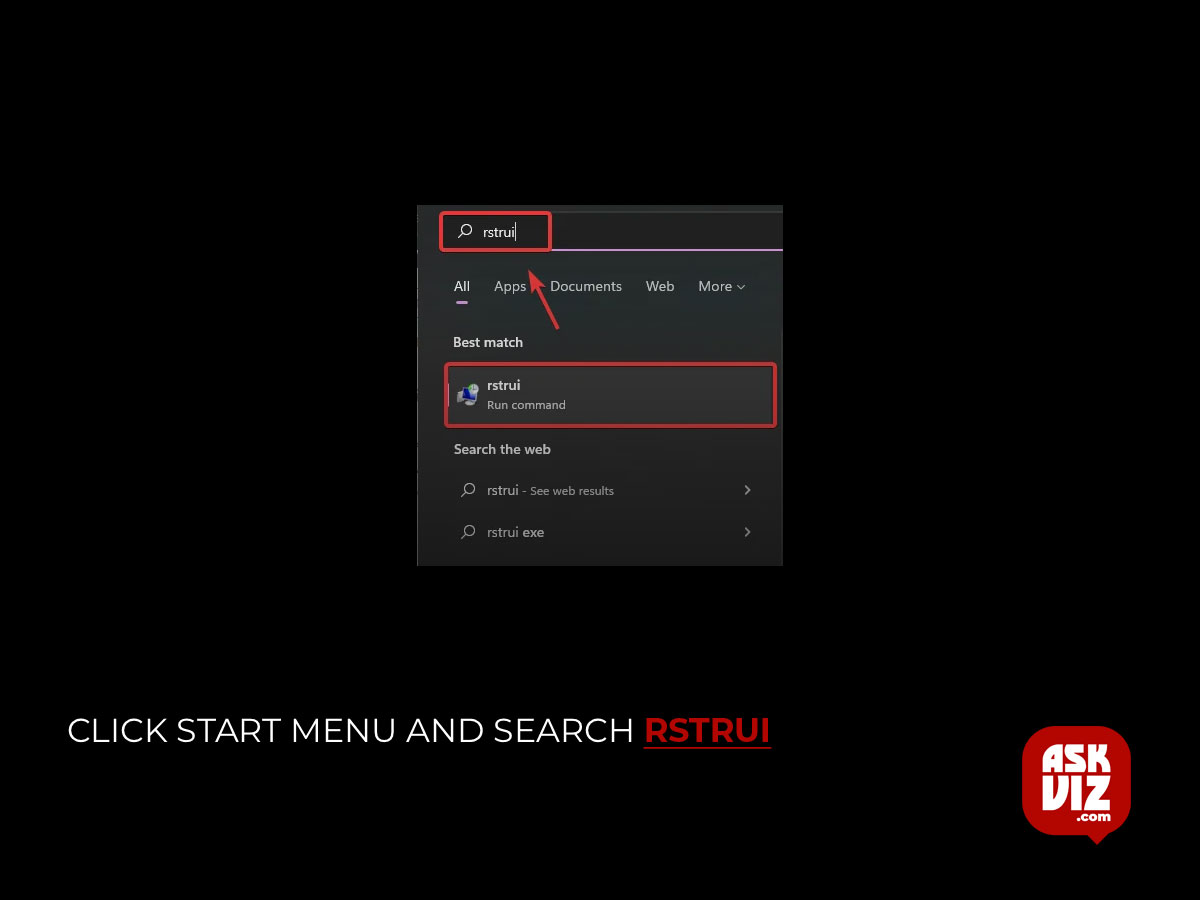
- Open the System Restore settings by pressing Enter.
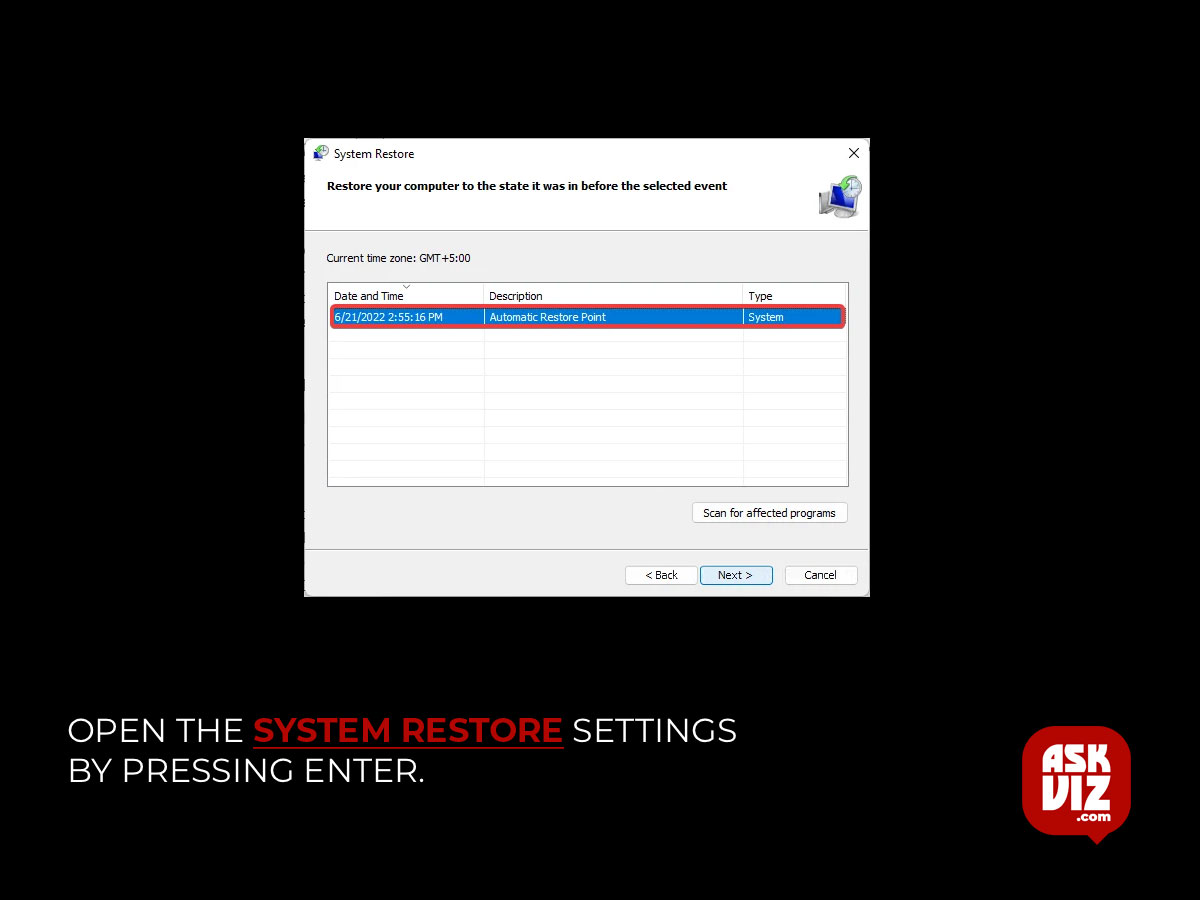
- Click Next and select a restore point.
- Then, click Next and click Finish.
FAQS
Why Windows 11 WiFi adapter not start code 10?
Code 10 on a WIFI driver usually indicates a driver issue or a problem with the wireless networking hardware adapter itself. Here are some possible causes and solutions of ‘this device cannot start code 10’ on a WIFI driver: outdated or corrupted drivers, device conflicts, damaged wireless network adapter, faulty USB ports, etc
What is code 10 on MSI WIFI?
Wireless adapters may become unstable, disconnected, or show the this device cannot start code 10 error in Device Manager (error message: this device cannot start) if there is a change being made to the device (e.g. running Windows Update).


